Construction weeks 47 and 48: sprint to the finish

We’re in the midst of the push-for-occupancy phase, which I mentioned in my previous post. There are many moving parts that need to come together. Our biggest challenge has been staying on top of things and ensuring that the things that need doing, get done. Which is why I’ve been MIA on the blog. There’s a ton to catch up on.

But first, we had a rooftop picnic with the girls tonight (on our newly finished rooftop deck!). When we arrived back at our just-ok rental house a few blocks away, Josie started crying. She said “I no want this house”. Ha! I guess we’re all getting a wee bit anxious.

Stairs and screen wall

Stair brackets installed against screen

Stair brackets installed against screen

It glows

It glows

Climbing plants to be installed at a later date :)

Climbing plants to be installed at a later date :)

Our stairs are designed to float between the wall and a 2 storey metal screen wall. So before the stairs themselves can go in we had to install the screen wall and metal bridge. Mark tackled this over a couple of weekends with some great help — huge thanks to Rob Villeneuve, Steve Dufresne, Mike Davis, Graham Dorey, Nick, and Gary Sharp (again! Gary, we owe you so much for all your help on our home). The metal screens support the bridge and the stair treads, and the bridge and stair treads stabilize the screen. Mark installed temporary treads so that the stairs are usable until the finished treads can be installed.

Kitchen install

Island – facing the living space

Island – facing the living space

View of the pantry wall (with our fridge in the way)

View of the pantry wall (with our fridge in the way)

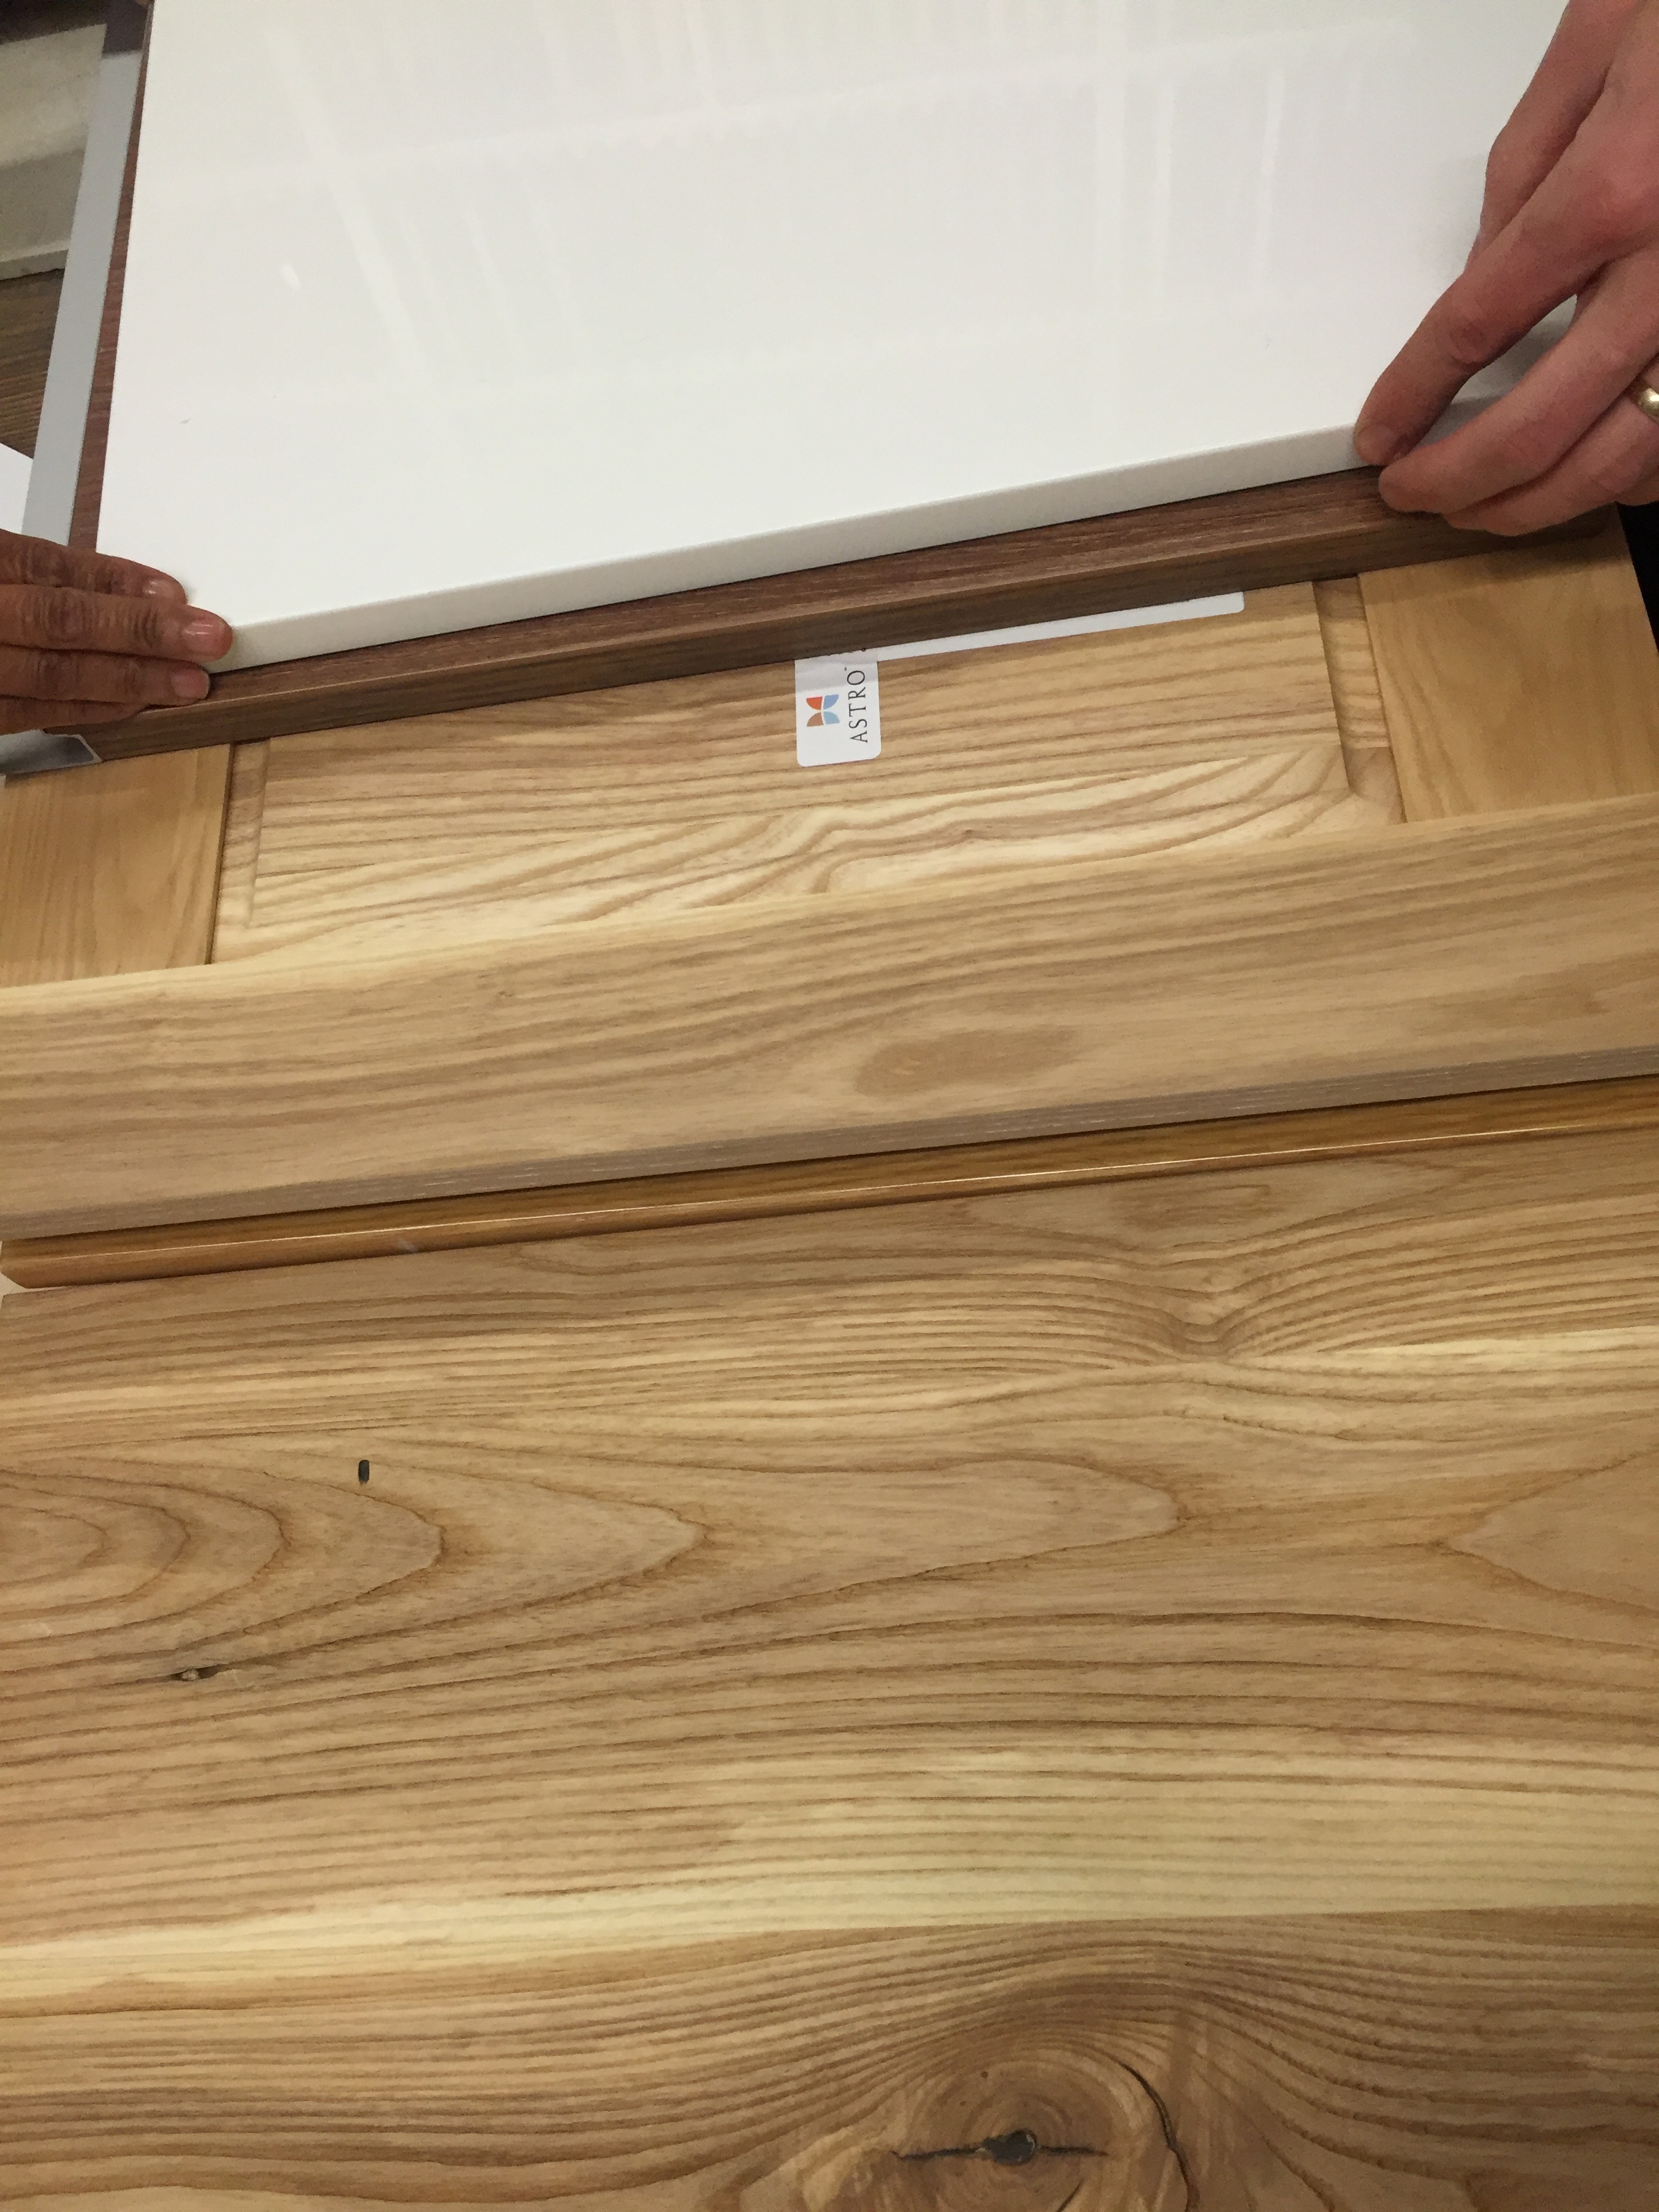
We have a kitchen! And it’s gorgeous. Ordered our kitchen from Astro and had Kosta do the install. He was a pro. Took him 3 days. We have a combo of a white, glossy laminate for the functional kitchen drawers and a brown ash, sandblasted finish, on the doors facing the living space. For more on our kitchen design and layout, read this post.

Our counters will be installed next week. We decided on Caesarstone, in a dark cement finish. The counter is from Solid Decorum. And we have some beautiful ash butcher block from the Wood Source for the sill-come-counter under the window.

Tiles

Living room tiles (pre-grout)

Living room tiles (pre-grout)

Bathroom floor tile (pre-grout)

Bathroom floor tile (pre-grout)

The majority of our floor tiles have been laid. With the remaining to be completed and grouted over the weekend. We have quite a bit of tile in our house. In our bottom floor entry, and our main floor living space, we went with a dark, larger-format tile, arranged in a staggered pattern Mark designed. We’re really happy with them. In our upstairs bathrooms, we opted for a 1” x 3” black tile on the floor, which conveniently hide our linear drain in the master bath. And a larger format white subway tile on the walls. We’ve got a lot of wall tile in our master bath because of our sloping ceilings. Really look forward to seeing it go up – next week.

We’ve also been very happy with our choice in tile contractors. Flowtopp. Highly, highly recommend them. Tiles was sourced from Ceragres. We used Gate on the main floors (in Licorice), Unit on the bathroom floors (black), and I forget for the bathroom walls…

By the way, we aren’t concerned in the slightest that we’ll have cold toes on ceramic tile. We won’t have any thermal bridging thanks to Passive House. We also have a lovely area rug we purchased on our Moroccan honeymoon (years ago now, wow) for the living room, to soften up all the hard surfaces.

Priming and painting

Looking down the void our bright white walls

Looking down the void our bright white walls

The house has been primed and painted. Quelle difference. It’s starting to feel like a finished house. We went with Benjamin Moore, Chantilly Lace, in a flat finish (aka. white). We understand that an eggshell finish cleans more easily, but wanted to make sure that when light washes against our walls, they’ll look smooth and dreamy. Flat does a better job at hiding blemishes. We enlisted the services of Michael Fenton, who helped us paint our last house as well. This man knows his paint.

ERV and heater install

Mission control

Mission control

The hair dryer heater 

The hair dryer heater 

Mark is nearly finished installing the Zehnder ERV and ground source heat exchanger. The units are hung in place and most of the ductwork is connected. Our 4kW Thermolec duct heater is also in place. This is the heater for the whole house! It’s small enough for our 3 year old daughter to hold on her lap while she eats ice cream. Nathan from Ackland Plumbing will be priming our ground loop and connecting it this coming week. 

Hot water tank install
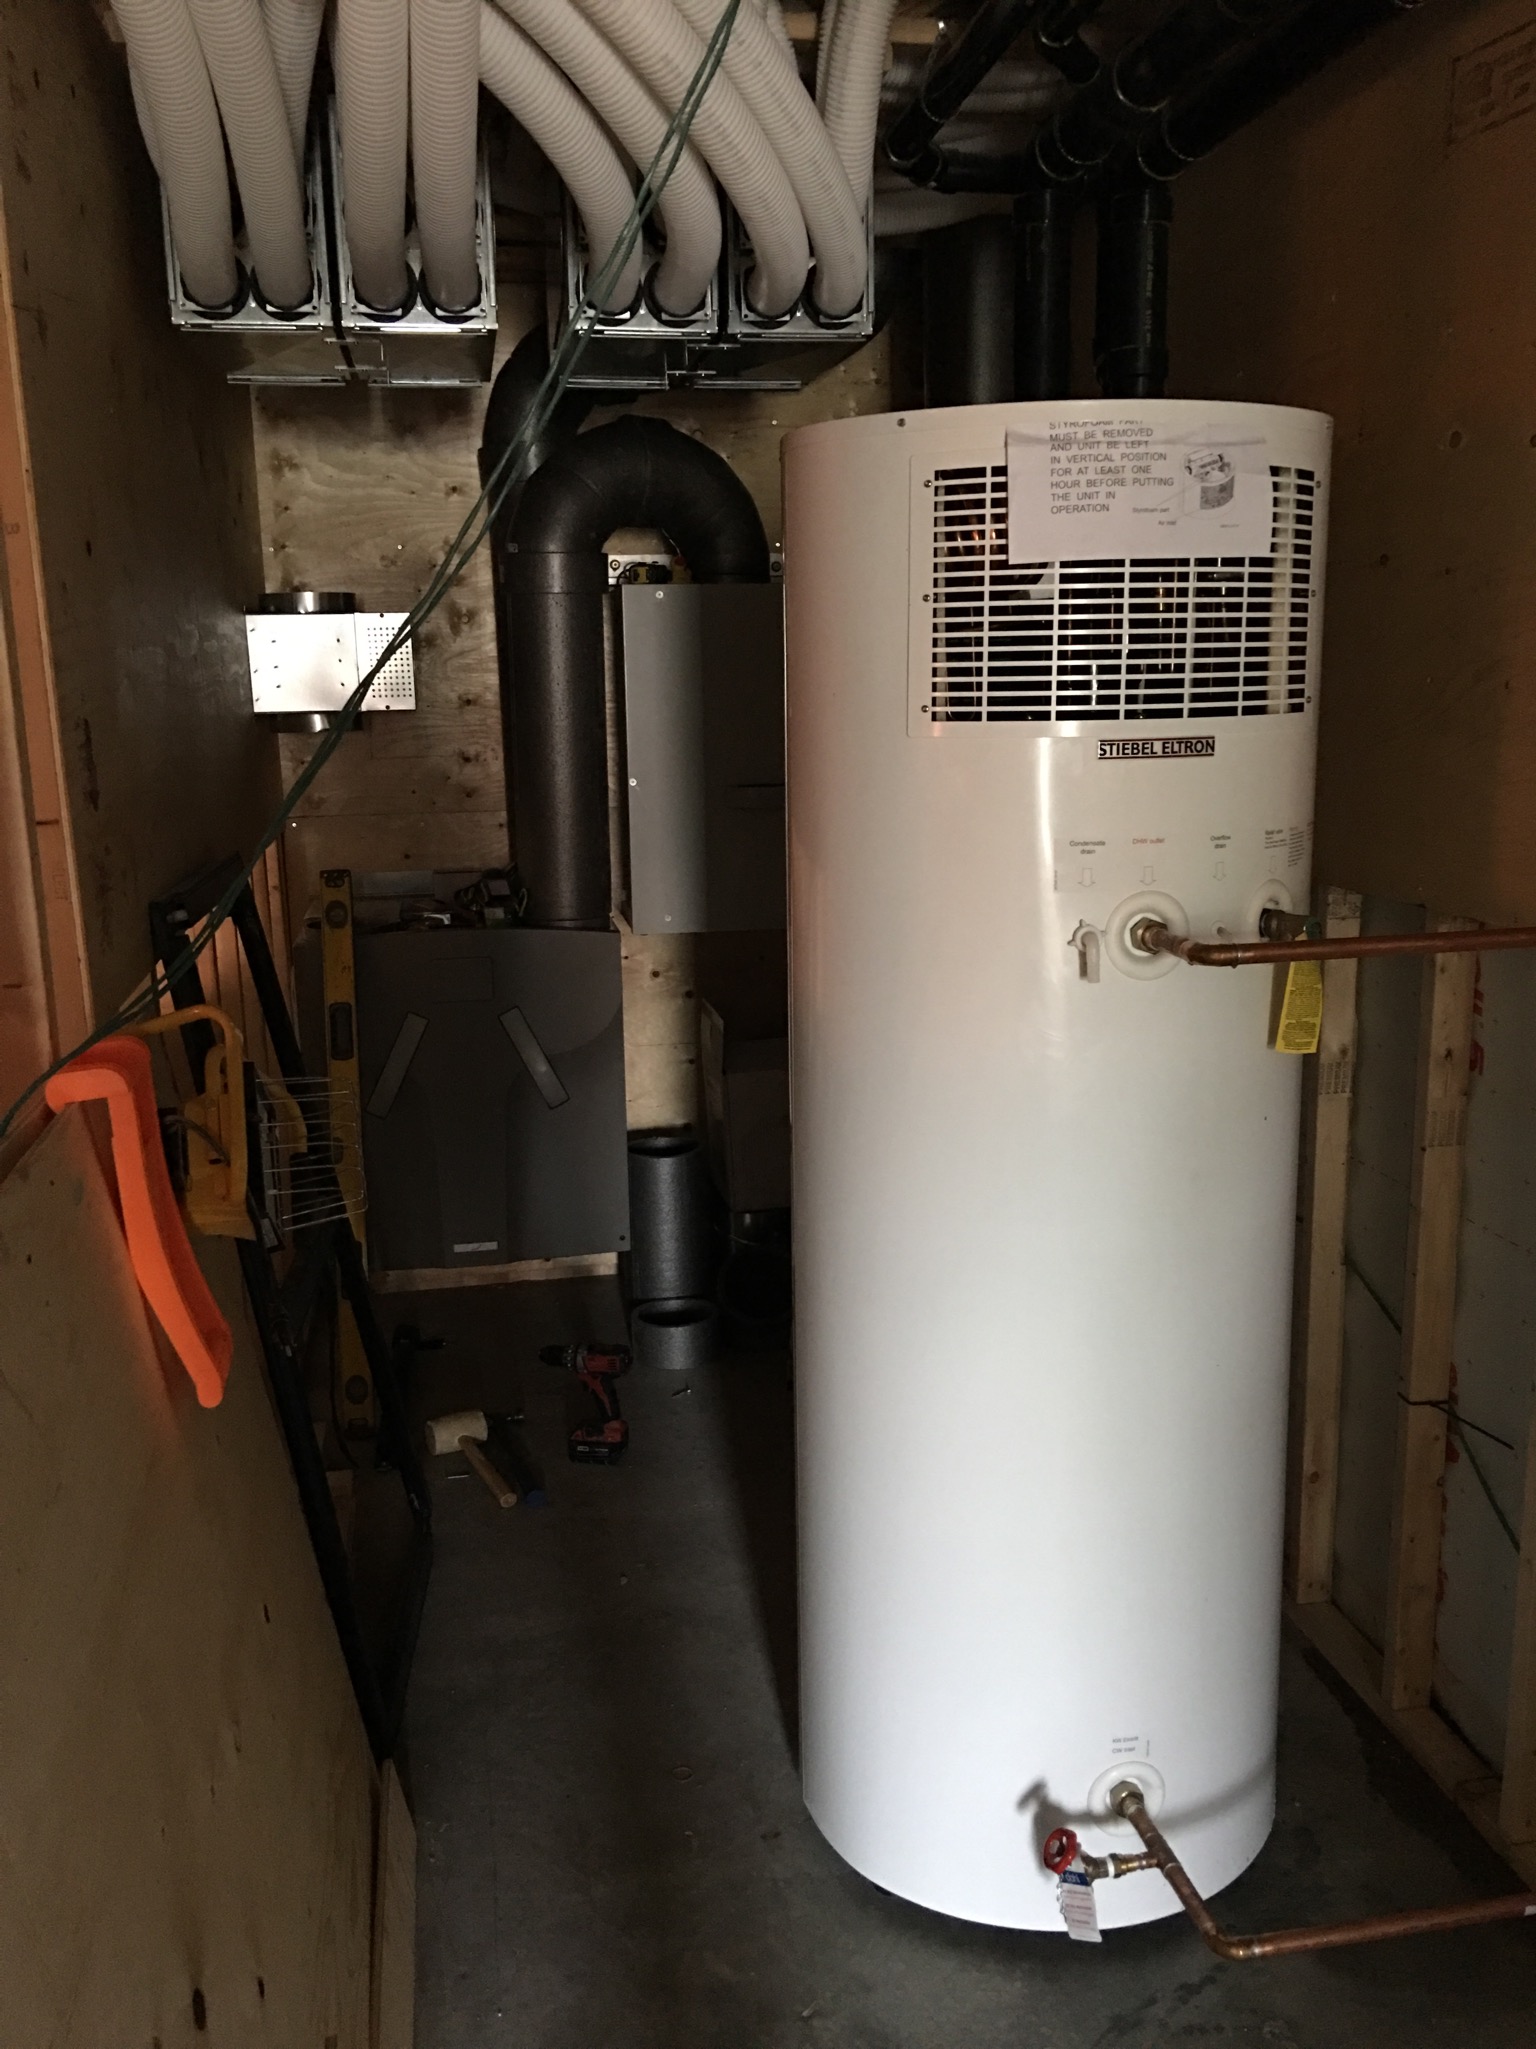
Nathan from Ackland Plumbing also installed our Stiebel Eltron heat pump hot water tank. It’s an 80 gallon tank that uses an air source heat pump to heat the water (meaning super energy efficient). It looks cool too.

Siding
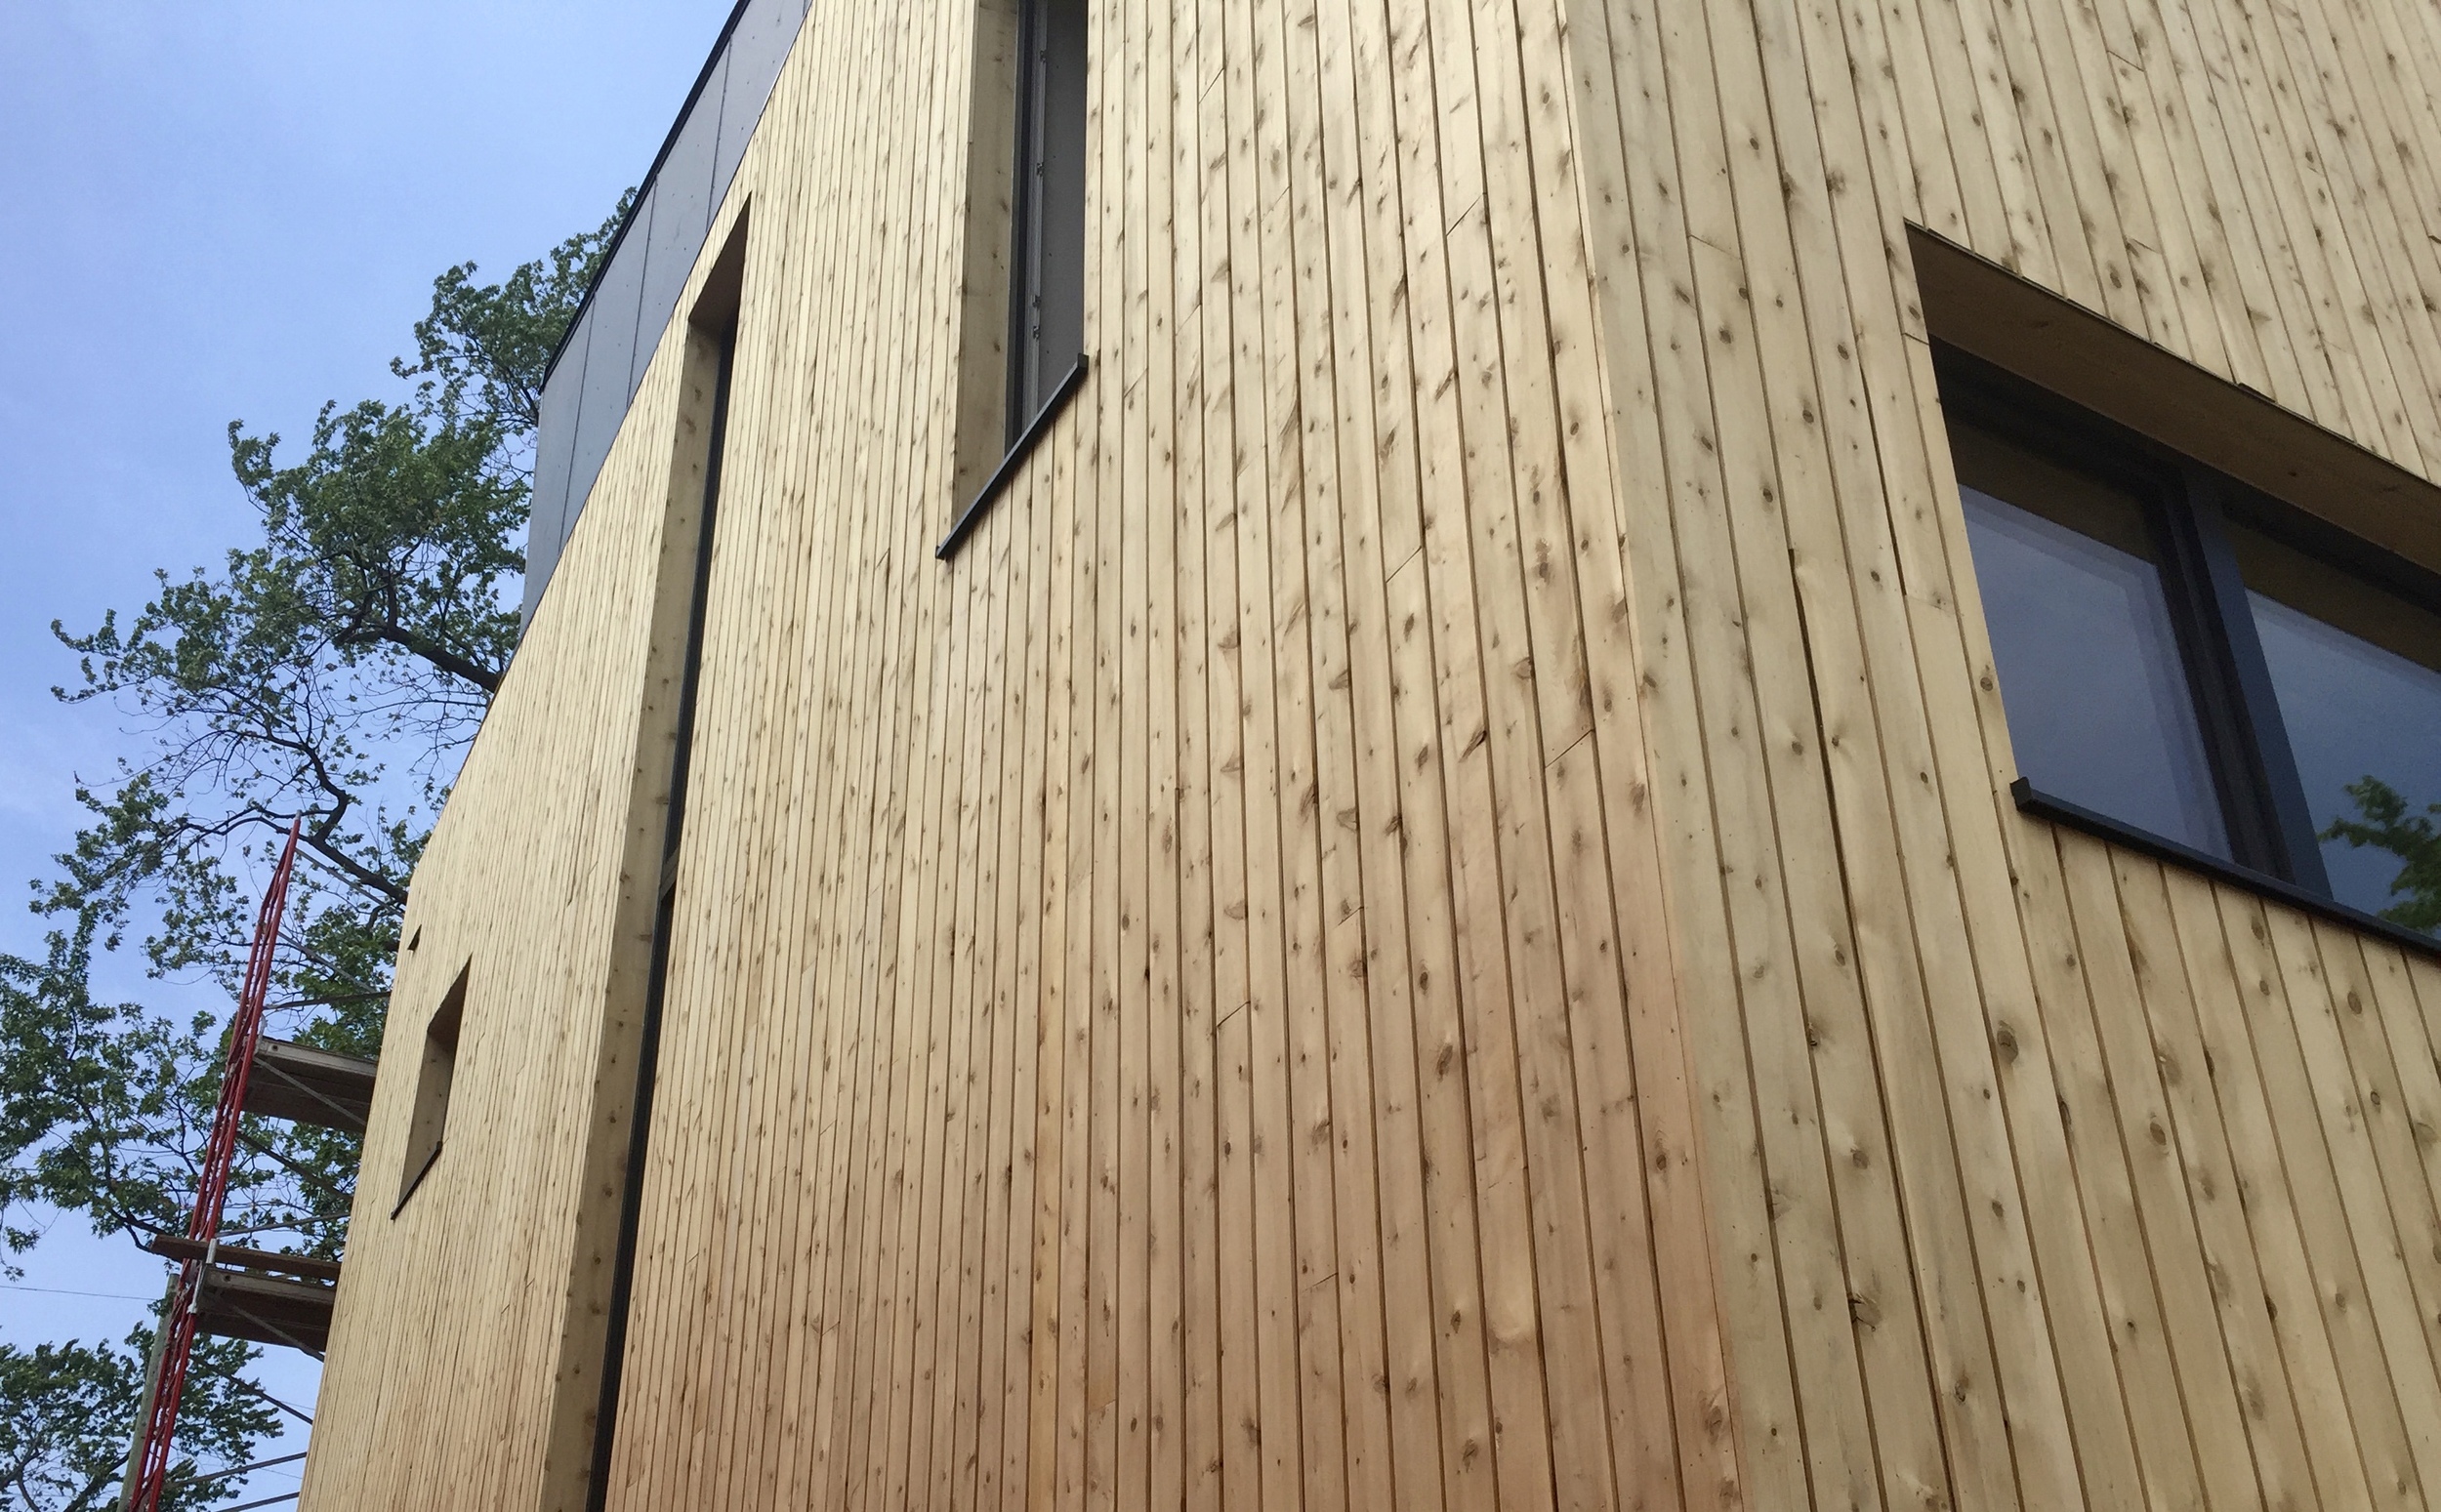
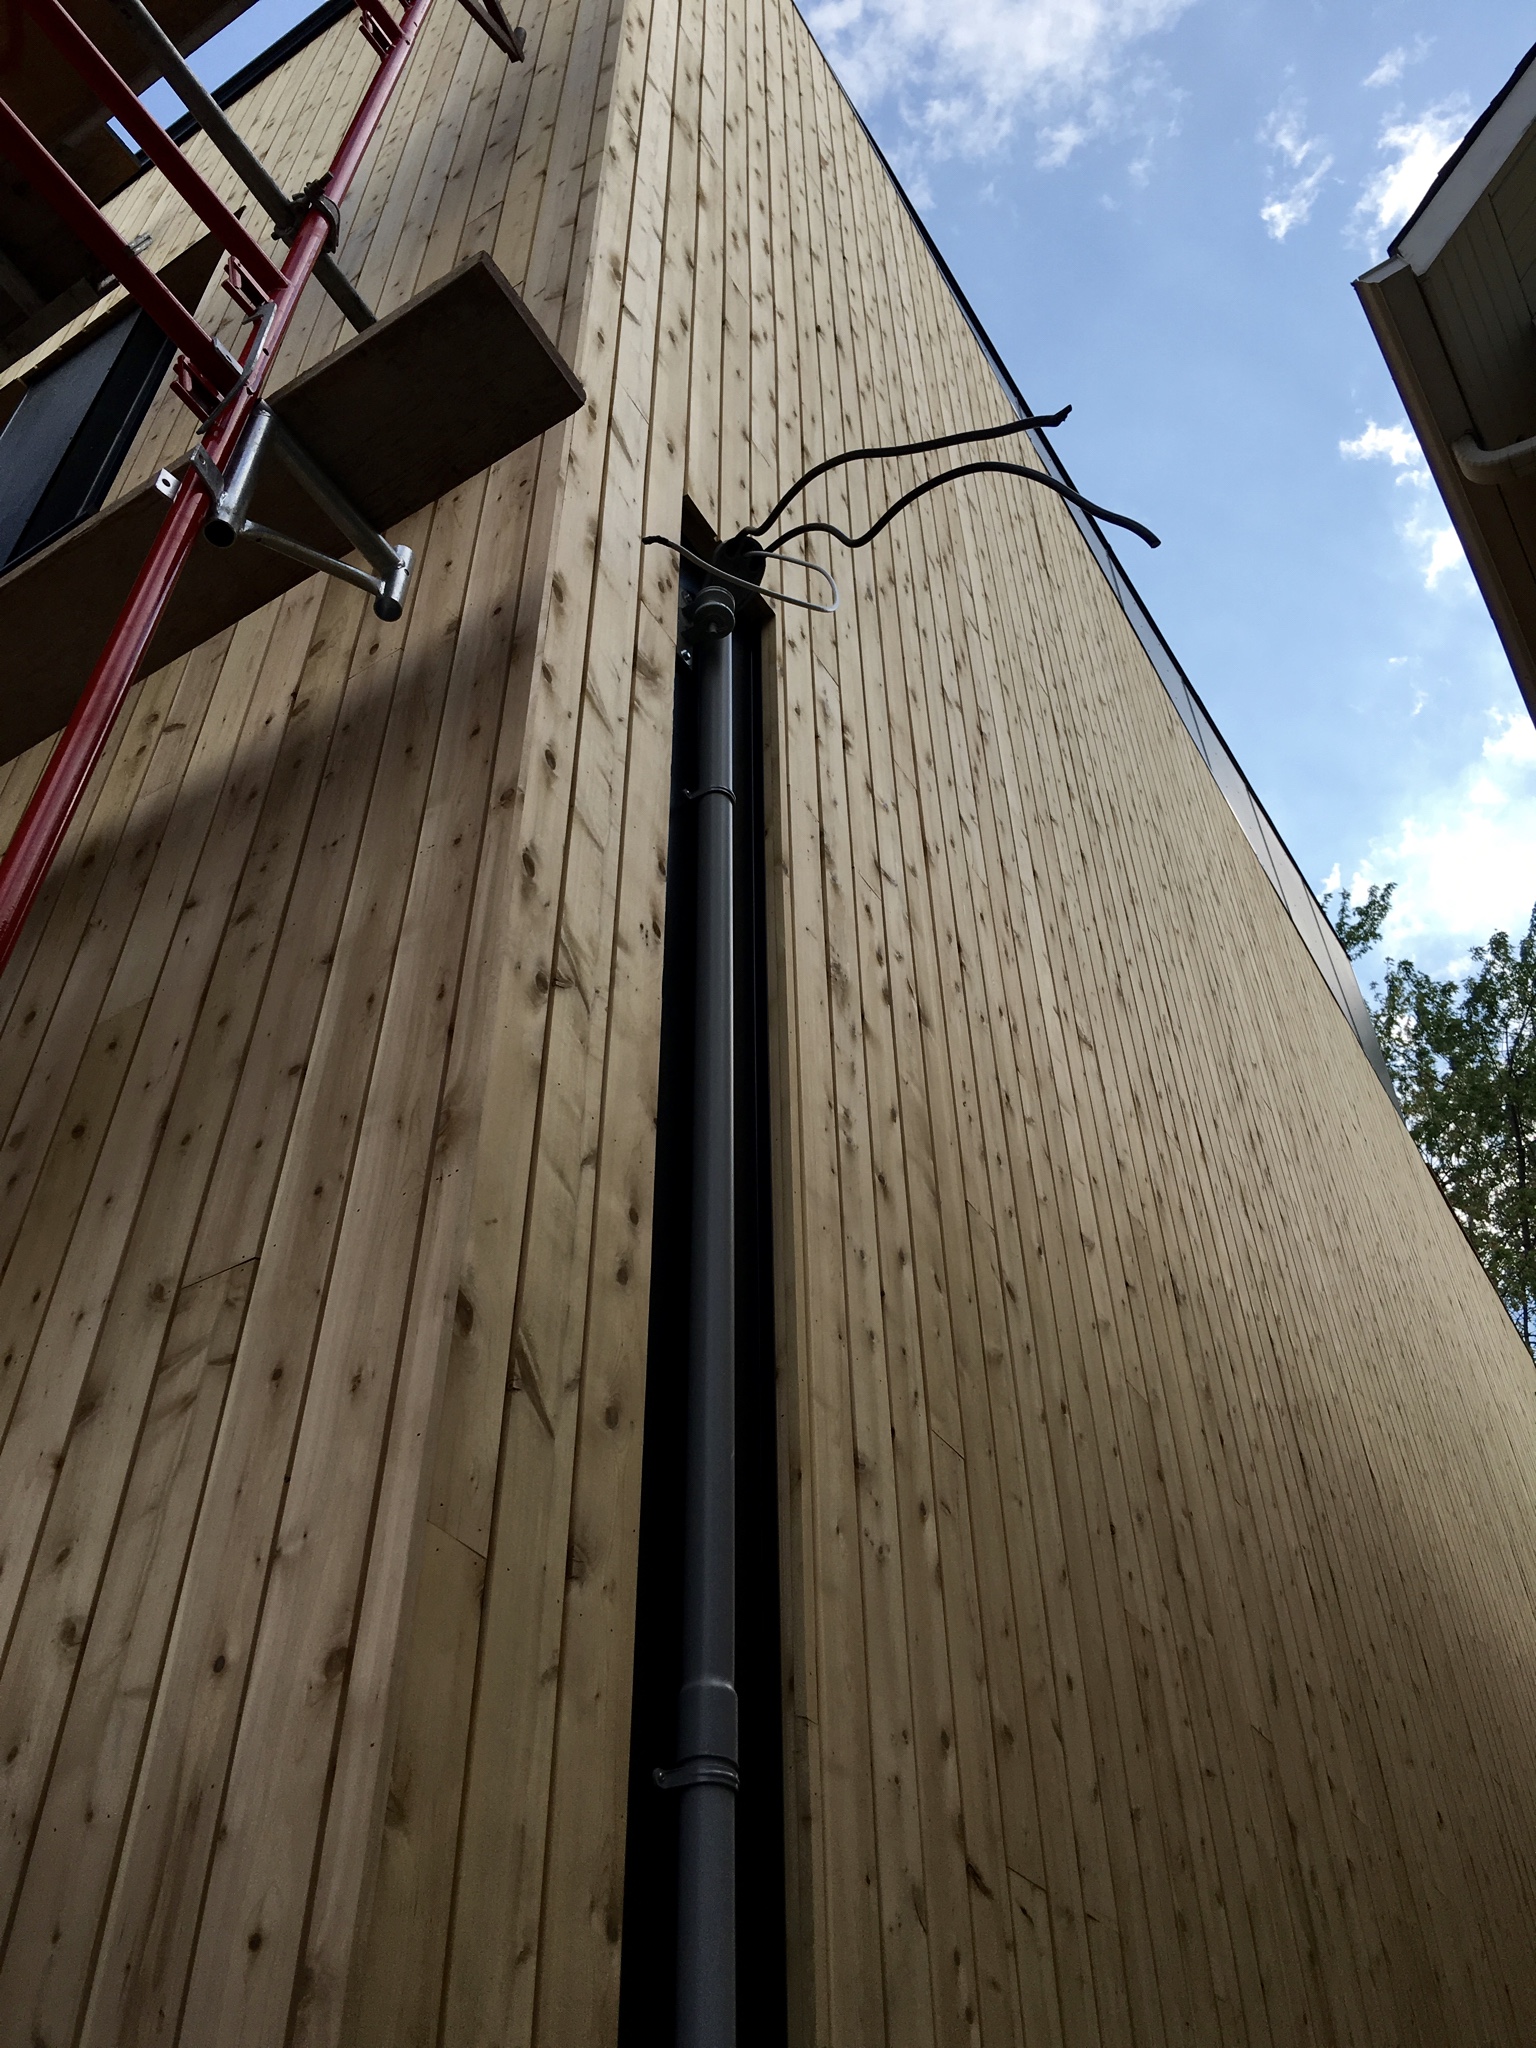
Our siding is finished and looks fantastic. Thanks to Graham Dorey

Final siding on the roof deck

Final siding on the roof deck

That's a tall ladder

That's a tall ladder

Roof deck

Our most-finished space

Our most-finished space

Our rooftop deck also looks amazing. Thanks to Graham Dorey. Who struggled with a strained knee, from a football accident and not the house, these past couple days. Going up and down a ridiculously high ladder with decking materials. 

We have yet to install a railing, which we’ll need for occupancy. The building inspector nay’ed our initial design, because it didn’t meet the building’s code definition of safe. He considered it climbable. He did say, however, that if we built a mock-up, he’d come look at it and assess the climbability in person. So that’s something we’ll be progressing next week. And/or we’ll look at redesigning it.

Front deck

Helical piles going in

Helical piles going in

Our front deck build is underway. Step one was to get some helical piles drilled into the ground to support the structure of the deck. Why helical piles? To minimize root damage to our big tree out front. A more typical deck pile requires digging of a hole much larger than the post itself. Whereas, a helical pile requires a hole only as large as the diameter of the pile itself, which you see in the picture is quite small.

Step two was to lay some landscape fabric and gravel for underneath the deck. Mark did all the gravel moving himself in the humid, sweltering heat that is Ottawa in July. Deck build is set to start this weekend and continue over the course of next week, with Graham on the job. 

That’s all folks. I’m sure I’ve missed things so I’ll be sure to write more frequently over the final weeks to come. If for some reason you don’t hear from me, it’s because we’re building a house, and are busy building it.

Square footage and magic

Window bench

Window bench

Apparently we've been misleading people when they ask us 'how many square feet' our house is. We've been guesstimating it at around 2,000 sq ft, when in actual fact, it's only 1,530. It just feels like a very generous 1,530, which, in my mind, so clearly establishes that good design can make a space feel larger.

Square footage is a funny thing. We understand it as a measure of how big a home is — how much usable floor space there is. Stairs and unfinished spaces are not included in its calculation. Neither are the open-to-below spaces, like we have in our house. So although the floor plate is around 900 square feet (30' x 30'), actual usable space is less than.

Square footage also comes in to play when you talk about costs. It's common to break down the cost of a build into a cost per square foot measure. This is an altogether different calculation, measured using outside dimensions. Maybe another discrepancy in our estimation has something to do with the fact that our walls are so thick. 

Those thick walls are one of the key design features that make our house feel so much larger. Each and every window takes advantage of them, which is where the intersection of passive house principles and good design principles align. For example, in our kitchen, the entire 20' length of the window will be fitted with butcher block in the sill to double as a counter and become any chef's dream prep space. With our sliding doors, the floor actually bleeds through the wall, until it meets the glass, effectively extending our floorspace by an extra two feet. And in our master suite, we have a picture window with a sill at bench-height, which we're building out further to become a comfortable, cushiony, window seat. So we're reclaiming square footage with these little tricks, even if they're not technically considered usable square feet. Magic!

Also, don't ask me about our build right now. I am sooooo ready to be done. Still so much to do. I'll talk about it when I'm in a better emotional state. 

Construction update week 42

The final façade well underway.

The final façade well underway.

It’s been awhile since my last construction update hasn’t it? In honest, there hasn’t been a whole lot to report. Not that work hasn’t been progressing, it’s just been the same old. Siding and drywall. And of course, many-a-things happening in the background: gathering quotes, scheduling, moving money around, ordering materials, pep-talks amongst the two of us — the list goes on, and seemingly never ends...

Siding

Graham’s crew has been working OT on the siding. Making up for some major squaring issues we discovered with the shell. We’re on the final facade – the front. They’ve finished the cedar and now just have the ‘eyebrow’ detail, as we’re calling it, over the doorway and canopy to finish up next week. They also need to add the hardie to our rooftop, and the west and south sides of the house. Hopefully the siding will be finished up next week. We can take the scaffolding down. Clean up the yard and start to have a finished-looking house in the works. Cannot begin to tell you how excited I am for this. 

ottawa-passive-house

Drywall

With the delay in starting, Mark’s bro Brian, who flew in to help with the drywall, couldn’t finish the job. But he left us in good shape to have a new crew take over. He also encountered the slow downs of having to remedy unsquare walls, but did a bang up job hanging drywall throughout the house in spite of this setback. He also managed to tape and mud all the rooms on the second floor. This upcoming week we have the new crew starting. We hope it goes quickly and will be finished up next week as well. They have to do the taping, mudding and corner beads for the remainder of the house. Minus the basement suite. Mark and I will finish that on our own time and our own dime after we’ve settled in. 

ottawa-passive-house
Mission control centre

Mission control centre

Finishing decisions

Most of the big decisions have been made by now. We’re putting together ‘moodboards’ for all our finishes. Real life samples of our tiles, woods, cabinets, paint chips, etc. It helps us qualify our decision making. This is the fun part for me. All the wall and building stuff is incredible, important, and fascinating, but I’m totally under qualified to have any input there. The purely aesthetic, surface-level finishes is more my jam. Here’s a little update on the finishing decisions. (I’ll post a pic of our sample moodboard later this week.)

  • We’re ordering all our tile from Ceragres. In the bathroom, we’re doing big white ones on the walls and small black ones on the floor. On the main floor and entries, a 24” x 24” and 12” x 24” jumbo porcelain tile combo in a darker ‘licorice’ colour. We’re decided on an installer as well. Mark was contemplating DIY’ing the tile with the help of Gary, but since he already has a million odd jobs to tackle, this was one we decided to leave to the pros.
  • We’re getting wood for the rest of the floors from the Wood Source. White ash in 5” boards that will be site-finished by Graham and his Vessel wood crew. We haven’t decided on a finish for them yet. Stain or oil. No idea. 
  • Going with Caesarstone for the island counter top. Not sure if we’re going light or dark yet, however. For the window sill come countertop in the kitchen, we’re going with a maple butcher block. Really looking forward to chopping things in that lovely window.
  • I’ve got some paint samples I’ve been playing with on the walls. Looking to find the perfect white for our house. Mark’s business partner Rebecca swears by an untinted, straight from the can, titanium/gesso white. I’m not sure if I want the house to have gallery walls or if I want a slight bit of warmth or grey to them. All signs point to titanium.

Next up

At this stage, our MVP is aimed at occupancy permit. That’s what our focus is — the minimum required for move-in. Things like the basement, doors and trim, we will finish up on our own. Once the drywall is complete, with the first coat of primer – a Benjamin Moore vapour retardant primer – we’ll get a painter in (might go by the name of Meghan or Mark), and get the floors started. The big deadline pushing things forward at the moment is our kitchen install, which is scheduled for July 10th.. We still enjoy telling people we’ll move in at the end of July. But I’m definitely not holding my breath on this one.


Construction weeks 37 & 38: electrical rough-ins and drywall

Drywall is getting hung, son!

Drywall is getting hung, son!

Mark is full-time at the house these days, including weekends, and it will likely continue this way until move in. I’m pulling double-duty with the rest of life, so all I can muster today is a point-form update. Words, sentences and all the things are feeling difficult. Please forgive me.

  • Mark finished running the flex ducting throughout the house.
  • Graham and Sebastian continue to install siding. And continue to do an outstanding job of it.
  • Yves, started and finished all the electrical rough-ins. Since he has a stellar reputation with the ESA (Electrical Service Authority), we quickly passed the inspection over email.
  • Prepared for drywalling, with the help of Brian Rosen, Gary and Alex Sharp.
    • Carried 40 sheets of 12’ long drywall boards up stairs and between rooms.
    • Moved and re-installed our construction stairs away from the wall so the drywall could run past.
    • Since the house is going to be so quiet (outside noises disappear with our thick walls), that means we’ll be extra sensitive to any inside noises. To counter this, we've taken a couple additional steps.
      • Installed resilient channels on ceilings. These are metal strips that the drywall gets screwed into. They reduce foot step noise from floors above by reducing the contact surface area between the drywall and wood structure.
      • Added extra Roxul to our ceilings to further buffer any sound between floors.
  • Started hanging drywall! Ceilings throughout the house and the girl’ bedrooms are finished.
  • Added structural blocking for our floating stairs — the top two staircases. Some extra structure was added between existing studs to anchor the metal brackets that will hold the treads.
  • Ordered custom metal for the interior of the house. Including a metal screen, which will support the other end of the stair treads, and our bridge that spans the open space over the dining room. Both will be powder-coated white.
    • The metal screen will span the height of the main space and frame the stair cases. As you wander through the house, it offers glimpses of the void and of our tall vertical window flanking the opposite side. We’ll hang pants off the screen, and transform it into a bit of a greenwall to breathe more life into the main space.
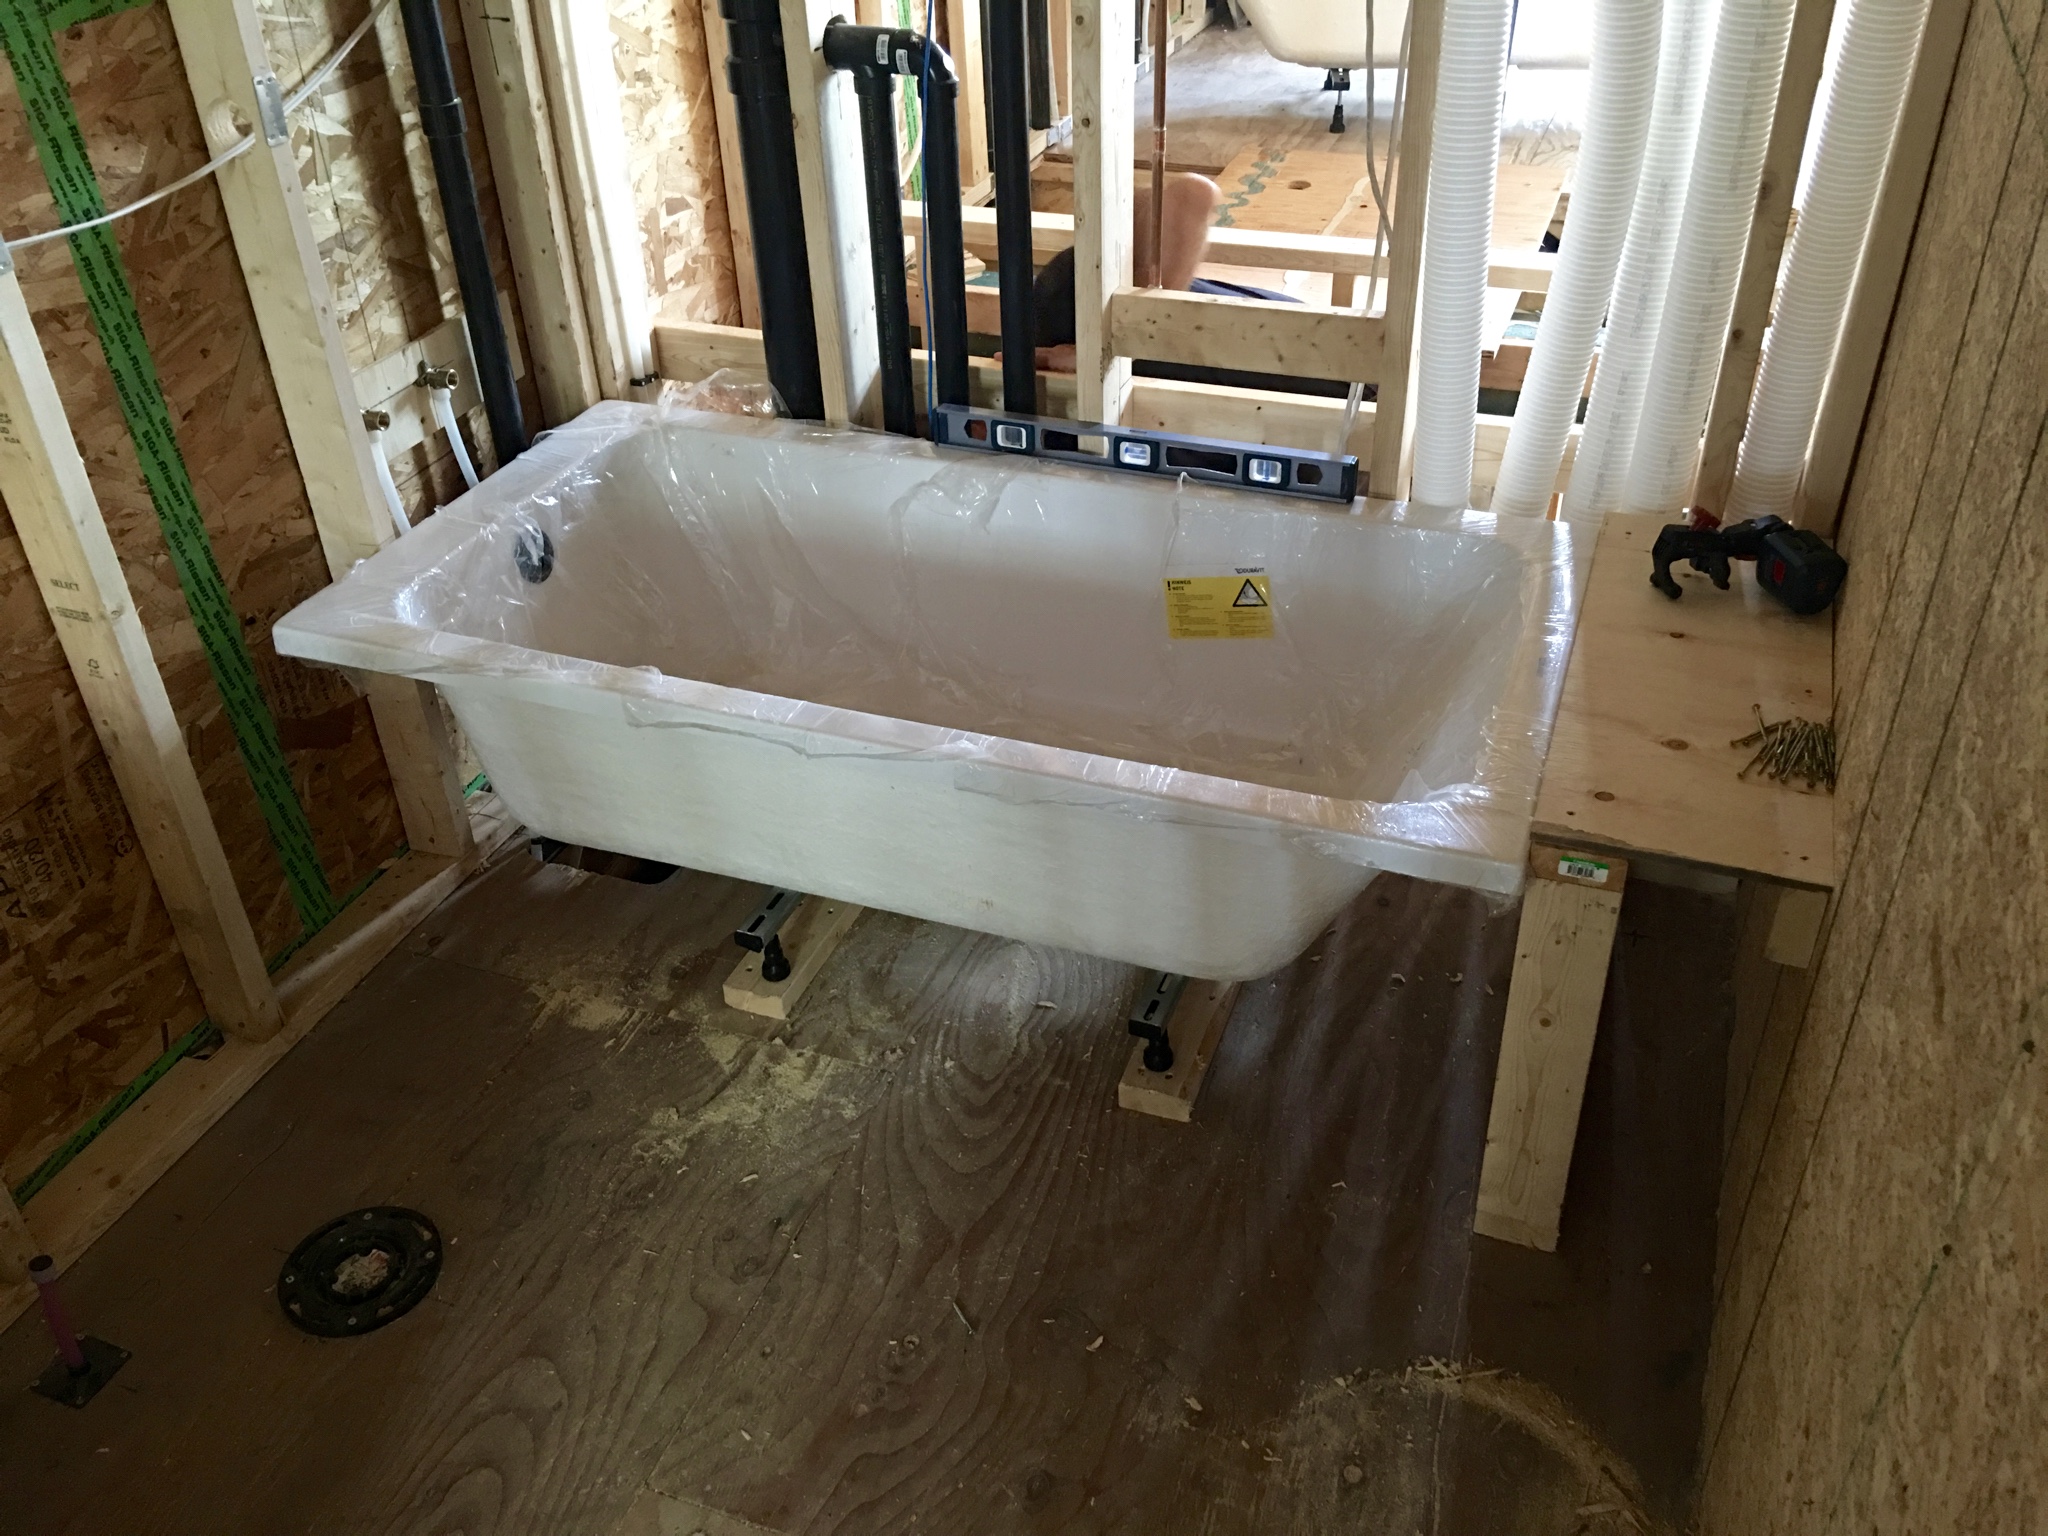
  • Nathan installed 1 of 2 bathtubs. The master bath is going to be a tricky one. The space is tight and looks like we may have been sent an incorrect part.
  • Mark ran another air test to the same result of 0.4 air changes per hour. He was hoping to improve upon our last result having filled some known gaps. But with new gaps made for electrical and plumbing, even though there were properly sealed, they may have balanced each other out. Or it might be the OSB that’s ‘leaky’ — it is a construction grade material after all, so at this level of tightness, maybe it just doesn’t stand up 100%. We’re hopeful that after drywall, our result may improve. However, Mark’s not holding his breath. He warned me that even though, in a typical build, an air-test post-drywall can improve 20–30%, it’s unlikely our will because we’re already dealing with such small numbers, and there’s little room for such impressive movement. Still keeping our fingers crossed.

That’s the gist of it. We’re managing many moving parts at the moment, but it’s finally starting to feel like we’re getting close to the home-stretch. The building inspector won’t be returning until it’s final occupancy time. Mostly finishing from here on out.

One more thing before my head hits the pillow: don’t miss Mark’s virtual tour this upcoming Thursday. We’ll post the video on the blog afterwards, in case you miss it. Oh, and check out the photos below.

Drywall on the ceilings.

Drywall on the ceilings.

First board goes up.

First board goes up.

Flex ducting complete.

Flex ducting complete.

Kids bathtub (concreted added beneath the tub since this photo was taken).

Kids bathtub (concreted added beneath the tub since this photo was taken).

Marvelous Eastern white cedar.

Marvelous Eastern white cedar.

Hardie board too.

Hardie board too.

Window sill details.

Window sill details.

The roof!

The roof!

Quick screen grab I got Mark to take of his Sketch-up model to show the stair screen and the bridge that floats in front. 

Quick screen grab I got Mark to take of his Sketch-up model to show the stair screen and the bridge that floats in front. 

Upcoming Periscope House Tour: June 2 @ 11 am

ottawa-passive-house

For anyone who missed our last tour, and for those geographically challenged, Mark will be live-streaming this upcoming Thursday (June 2) at 11 am EST. You'll have to download the Periscope App to tune-in. Follow @marktrosen. Highly recommend you do so because you can ask him questions and interact as he walks you through the house. 

Construction weeks 33 & 34 – plumbing, hvac and more

manifold system

manifold system

plastic in the walls

plastic in the walls

Wow, it’s been a couple weeks since I’ve provided an update. The house has been relatively quiet with only one or two people working at a time. That has since dramatically changed…

Nathan, from Ackland Plumbing, has finished the first rough-in phase for plumbing. We’ve got spiffy (BPA-free) breathable supply pipes running through the house, and a purple one which supplies the grey water. He was explaining to me how, just 10 years ago, a different kind of plastic pipe was getting installed in Canadian houses, one which does not breathe and where water stagnates and becomes unsafe for drinking. Insurance companies will not insure these houses and lawsuits are being filed against the building code. Lesson learned: what seems like a good idea today, may very well prove to untrue tomorrow. And wet things need to breathe, trapped moisture is the enemy of building. I digress. Back to our house.

Nathan managed to carefully maneuver all supplies and drains in and between our open floor trusses and walls. The design of our house helped to facilitate this, with Mark stacking all the plumbing and electrical to one side of the house, over the mechanical room. (This poses absolutely no risk Myles btw (comment from previous post), it’s actually a really clever thing to do when building because all utility runs are minimized in terms of materials and labour). We’ve received numerous compliments on Nathan’s handiwork and it passed the plumbing inspection no problem-o. He’s as excited as we are to have a neat and tidy mission control in our mechanical room, where we’ll go copper for added ‘wow’ factor. Good stuff.

wood fibreboard clads the house until the siding gets installed overtop

wood fibreboard clads the house until the siding gets installed overtop

the cardboard box phase

the cardboard box phase

Speaking of passing inspections, we also passed our building envelope inspection. Hooray! We were nervous about this one because we weren’t sure how the inspector would feel about forgoing the traditional Tyvek weatherproof house wrap for our wood fibreboard. The wood fibreboard is more common in Europe and is not often seen on our side of the pond. Mark provided specs to the building inspector and explained it to him. We’re fortunate to have an experienced and open-minded official. But there’s no doubt to anyone walking through or around our house that it’s a well-built, thoroughly considered house.

zehnder hrv unboxing
zehnder hrv

And back to the mechanical room. Hans from Pinwheel Builds met with Mark and dropped off our new Zehnder HRV and heat exchanger along with coils of flexible plastic pipes, which are to be our house’s air ducts for circulating what little heat we require. It’s a pretty groovy system. We won’t have any gross floor ducts, bulkheads or metal work in our house. All you’ll see are small 8” diameter circles mounted to the occasional wall and ceiling to circulate air. Mark went over his plan with Hans and has started installing the ducting himself. Unboxing the parts was better than Christmas for Mark. He was so excited.

parapet roof

parapet roof

new carhartts

new carhartts

From here on out, Mark will be spending as much time as possible working on the house himself. He bought himself a spiffy new pair of Carhartt overalls for the task ;) In addition to starting the ducting, he finished the parapet (a fancy word for structural railing) on our flat roof, cleaned up the front and back yards, and hosted another tour. This last one saw around 30 people who joined as guest of Malcolm Isaacs, who runs the local Passive House courses and is a director of the Canadian Passive House Institute.

brown ash cabinets

brown ash cabinets

ash and gloss white

On the backend, we ordered our kitchen. Another hooray! Finally. There were a few back-and-forths during the homestretch, which prolonged the process, but were key for getting the details ironed out. We’re really excited about it. We ended up going with Astro Design Centre and have had a great experience working with Dean Large. He ‘gets’ us, in terms of design, and was able to add real value to our design experience, which we really appreciated. Astro also had the finishes we liked the most, at the best price. For example, a gloss white was the same cost as a matte white (typically gloss costs more). And we don’t want any hardware, we want recessed handles (a no hardware look typically costs more). We went with the Astro house brand in white gloss for all the cabinets except those on the backside of the island. The backside of the island faces the living area. For these cabinets we chose a sand-blasted (i.e. textured) brown ash. Haven’t ordered our countertops yet. That’s next.

Following suit, we made a decision on our wood flooring and placed the order. We’ve decided to go with white ash from the Wood Source. The same white ash that the city of Ottawa has felled throughout the city to thwart the Emerald Ash Borer. It will be sympathetic to the island wood. We also decided to order some extra wood for the sloped ceiling, which spans our open space, over the master bedroom and loft. A slatted wood ceiling will allow for clever lighting hacks. We’ll be able to hide much of the hardware behind the wood so that we only see what we want to see and can get away with using less expensive fixtures at no aesthetic compromise. It will also look incredibly beautiful. It’s a win-win.

As alluded to earlier, the house is buzzing again this week. Siding has begun amongst other exciting things. Do stay tuned and lookout for another Mark Periscope. He broadcast just today. And hope you’ll join the next house tour!