Foundation Construction Details

Slab and foundation/basement walls with insulation and frost skirt

With the slab poured and the ICF well under way, I thought I would write a quick post with visuals explaining the construction methods and materials being used. I've created some images to go along with all the photos we've been posting to hopefully add some clarity to what you've been looking at so far!

The images above and below show the concrete foundation and foam insulation as it will be once completed. The image below has labels calling out the various layers. 

Components of the foundation

The biggest difference between our foundation and a typical residential foundation is the lack of concrete footings.  A typical foundation would pour strip concrete footings right onto undisturbed soil, then pour the concrete walls, and finally pour the slab inside the walls. In our home, the slab is poured before the walls and will actually support them, which is why it is so much thicker (8" instead of the standard 4") and has so much steel rebar in it. It is also completely contained within the foam insulation tray, eliminating any thermal bridging through the concrete to the ground. The end result of this is a concrete floor that will retain the heat it absorbs from the house above, rather than simply dumping it through into the ground. 

The walls on top of the slab are made up of three layers. First is the ICF (insulated concrete forms) from Nudura. These are like Lego for grow ups. They snap together to form the walls and are held apart by integrated webbing. The cavity is 6" wide and on Friday we will be pouring it full of concrete. Watch for photos this week showing the alignment system that will ensure the walls are straight and true as the concrete is poured. 

Once the concrete is poured and the walls straightened, we will be adding two more layers of foam from Styrorail to the exterior to build up the insulation value of the walls. The first layer has horizontal wood strapping embedded, and the second layer will cover this wood and effectively embed it in the middle of the wall. The foam will be glued in place using PL 300 glue, which is specifically formulated not to deteriorate the foam over time. The horizontal wood strapping gives us something to tie back into when we go to install our siding above grade. 

The slab poured and the first layer of ICF in place. 

Now let's talk about the big white elephant in the room: why so much foam? The amount of insulation is one of the trade offs required to achieve passive house performance on such a challenging site. Because of the limitations of orientation and south-facing window areas, we have to compensate by beefing up the thermal envelope more aggressively than you might find in other passive house projects. The final thickness was determined after several rounds of refinement of the energy model (using PHPP for those keeping track). The really nice thing about this configuration is that all of the concrete is on the warm side of the thermal envelope, where it will hold its warmth, and is protected from expansion and contraction. This alignment becomes especially important when we get to the design of the framed walls above...more on that soon. 

ICF at the end of 1 day's work.  

ICF at the end of 1 day's work.  

Construction weeks 6 & 7

structural-slab-passivehouse

I’ve fallen behind on my blogging over the past couple weeks as I’ve started a new full-time job. Which means Mark is handling almost all aspects of the build and I’m playing catch-up over my evenings and visiting the job site on weekends. Thank goodness Mark’s more than capable and is starting to roll up his sleeves on the blog-front too. This is good for all of us, because he’ll be much better at explaining many of the build aspects than moi.

Weeks 6 and 7 were laying the foam for the tray — our structural slab. Read Mark’s post on this, if you haven’t already. Towards the end of the week our team at Cornelis Grey started tying rebar for the slab, on which the concrete will be poured. Hopefully they’ll be finished this laborious task by Monday and we can get the concrete going as soon as possible next week. They have around 1,500 ties to complete, all manually.  They’ll probably never want to see rebar ever again in their lives after this…

structural-slab-rebar
Comment
Share

Soil bearing capacity test

passive-house-ottawa-soil-bearing-capacity.jpg

I was expecting something more high-tech — maybe a glass box that would be filled with soil and mechanically compressed and measured for PSI. Nope. The engineer went into the hole with a hammer, scraped it in a few places, touched some dirt and said ‘yep, good to go!’. We have a report stating our dirt is comprised of glacial till, silty gravel with clay, cobbles at a bearing capacity of 100 kPa. I guess he just knows. Who knew?

Comment
Share

Construction weeks 2 & 3

excavation-ottawapassivehouse.jpg

The digging started last Wednesday and by Friday, the entire hole was dug. It’s a great hole. Not too big and not too small. Juuuuust right. It was clean digging the whole way through. One larger root from the maple tree was damaged, but overall we were pleasantly surprised by how few roots we actually hit.  Some of the dirt our excavators from Doulos Construction removed is still sitting on site, ready to back-fill the foundation, when the time comes…

This week, on Monday, our surveyor is coming back to pin the corners of our foundation within the hole. On Tuesday, a geotechnical engineer is coming to do a soil bearing capacity test on our soil (to be sure it can withstand the pressure of a house). And we will be laying out our ground source heat loop, which is essentially 400m of polyethylene pipe that will be used to help warm/cool the air in our house (more on this later).

Looks like our week might be a bit slower than anticipated as we are still waiting for our road cut permit from the city. This permit process is separate from our building permit. Our excavator applied for the road cut permit on our behalf, but was only able to do so after we had been given our building permit. This is the permission we need to cut the road and connect to city services. We are dealing with a newly appointed city official, which unfortunately for us means slower-than-usual response times. Argh. We were hoping to have our plumber (Nathan from Ackland Plumbing) make his sub-slab connection and start filling the hole with granular and gravel. We shall see as the days progress.

But, let’s not forget: we have a hole in the ground! Mind you, it has filled with water over the weekend…Mark assures me it will drain.

excavation-water-ottawapassivehouse.jpg

Instagram for daily project progress

I've decided to use Instagram to help document the build. I'll try to post a pic every day (or so). And have decided to mark day zero as the day we received our permit. The project build timeline commences henceforth. Follow here and follow there. 

Comment
Share

Permit issued

Major excitement at the city of Ottawa HQ

Major excitement at the city of Ottawa HQ

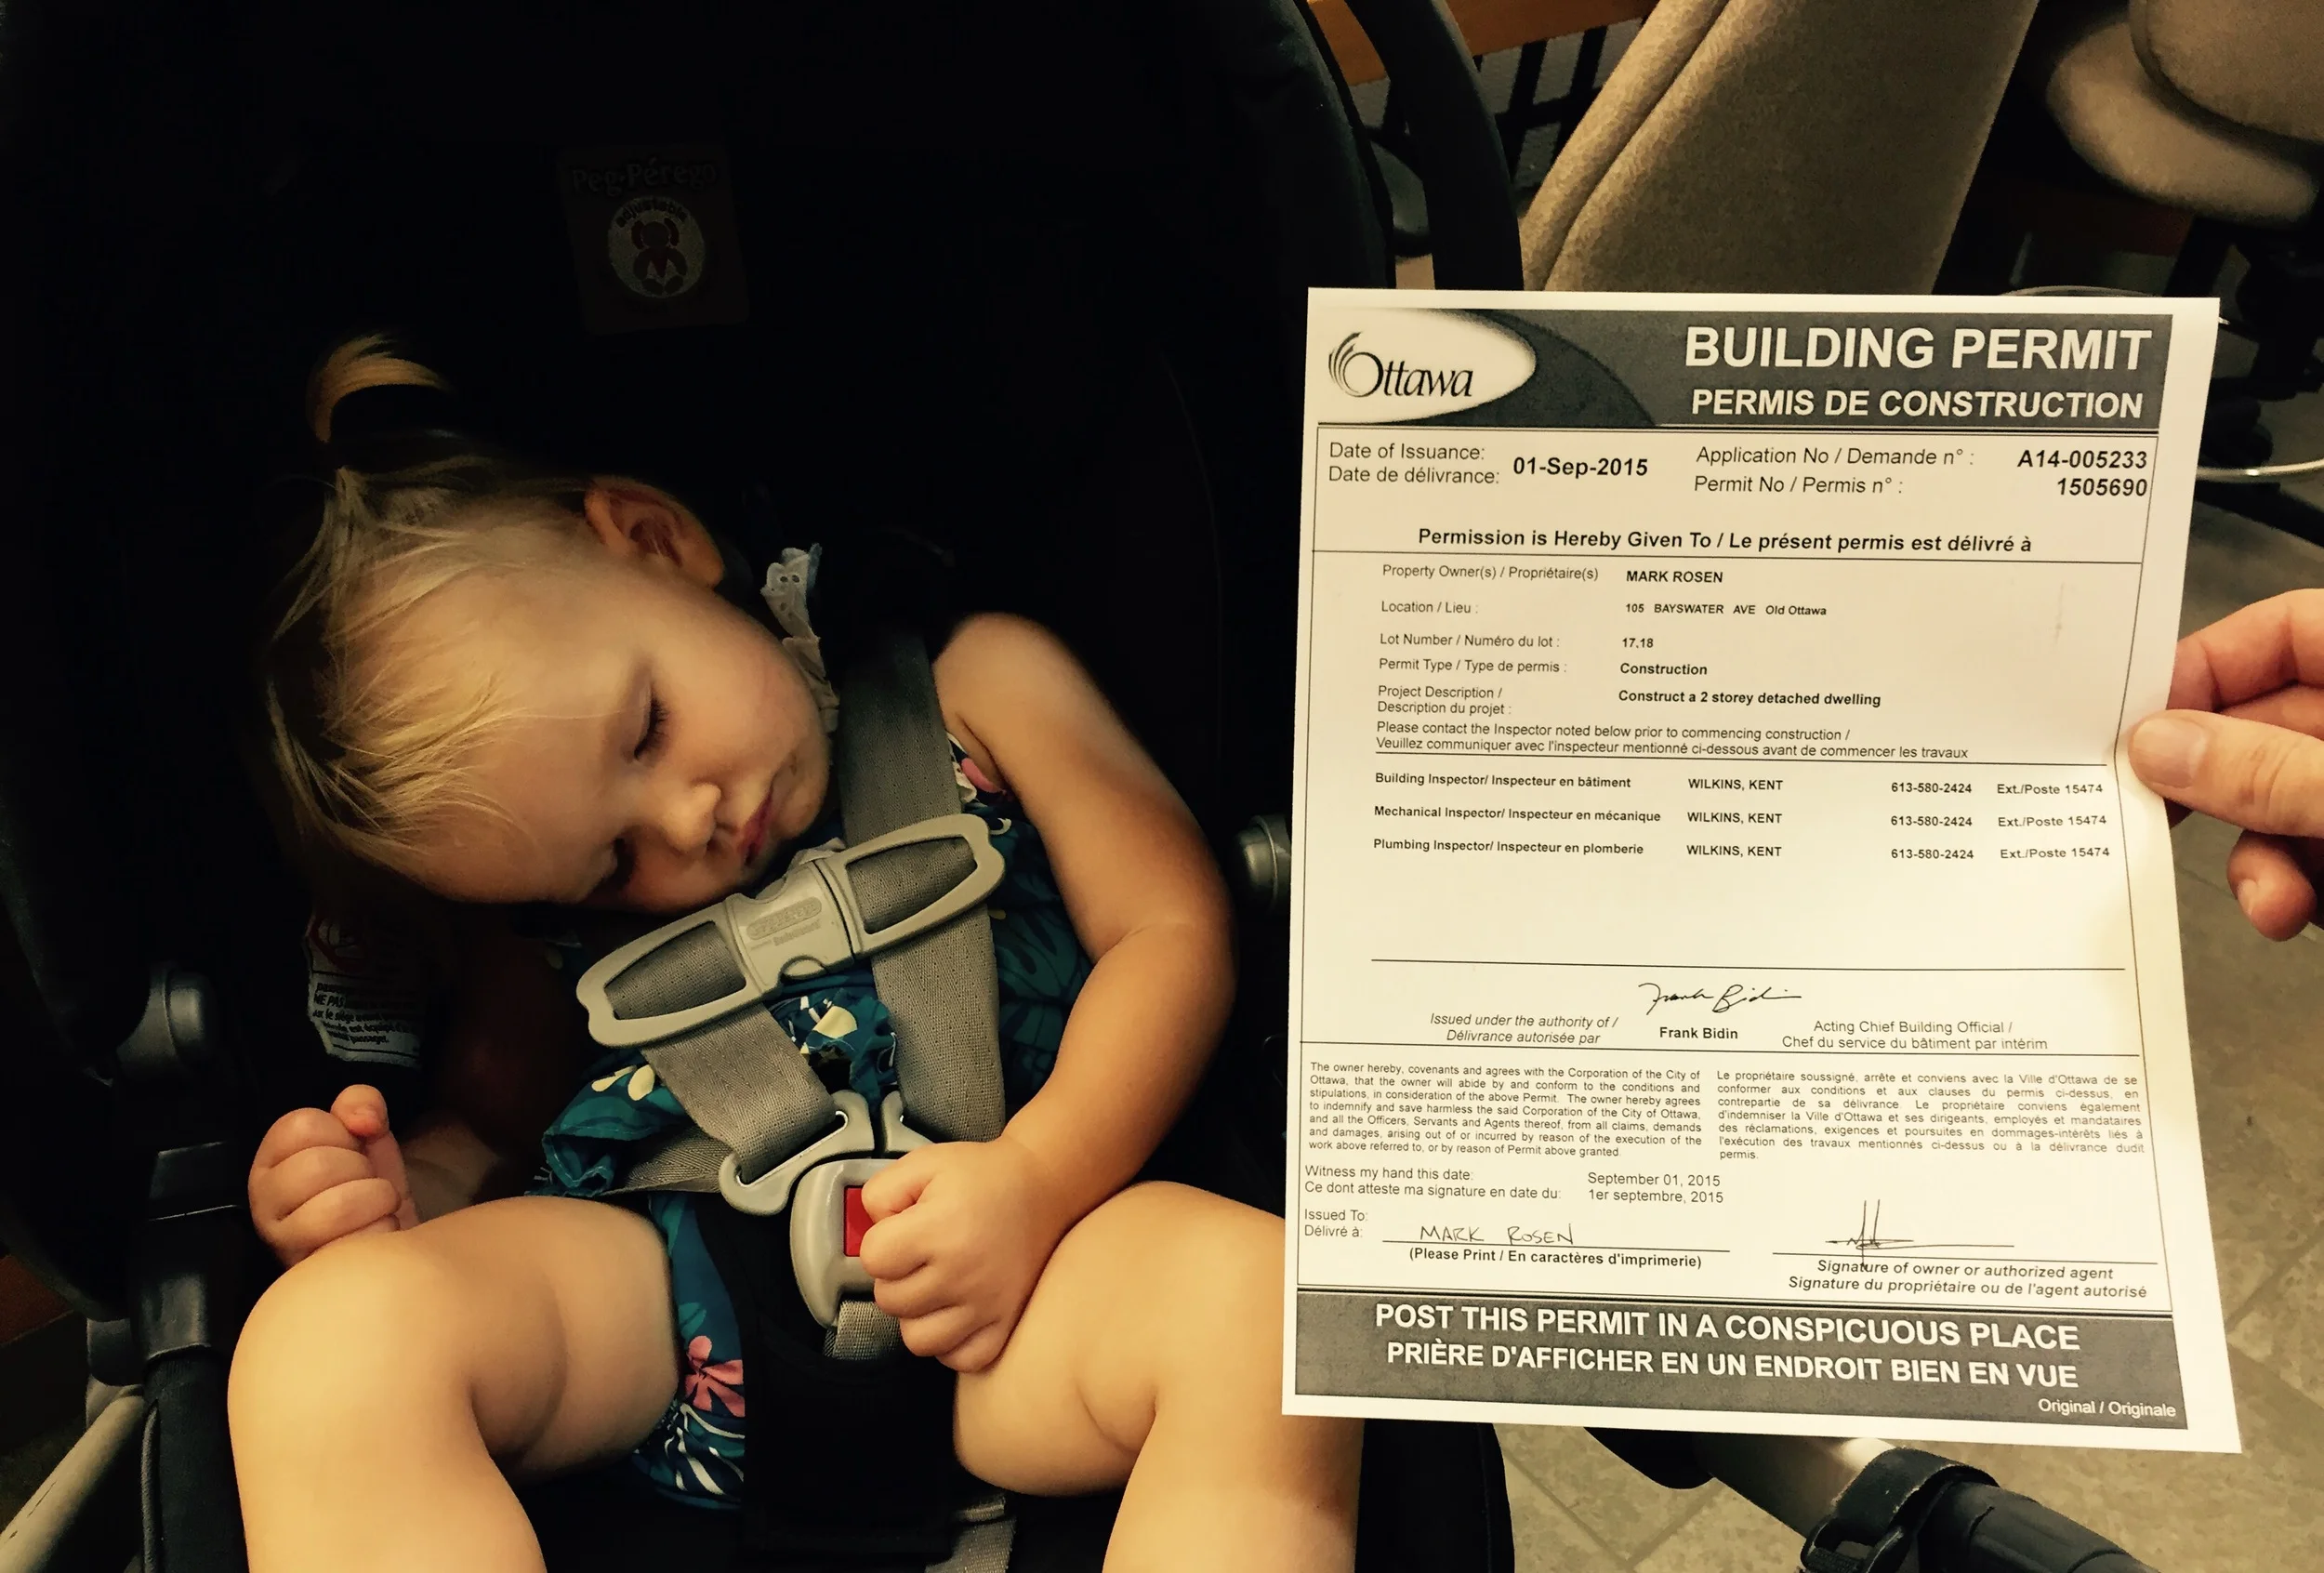
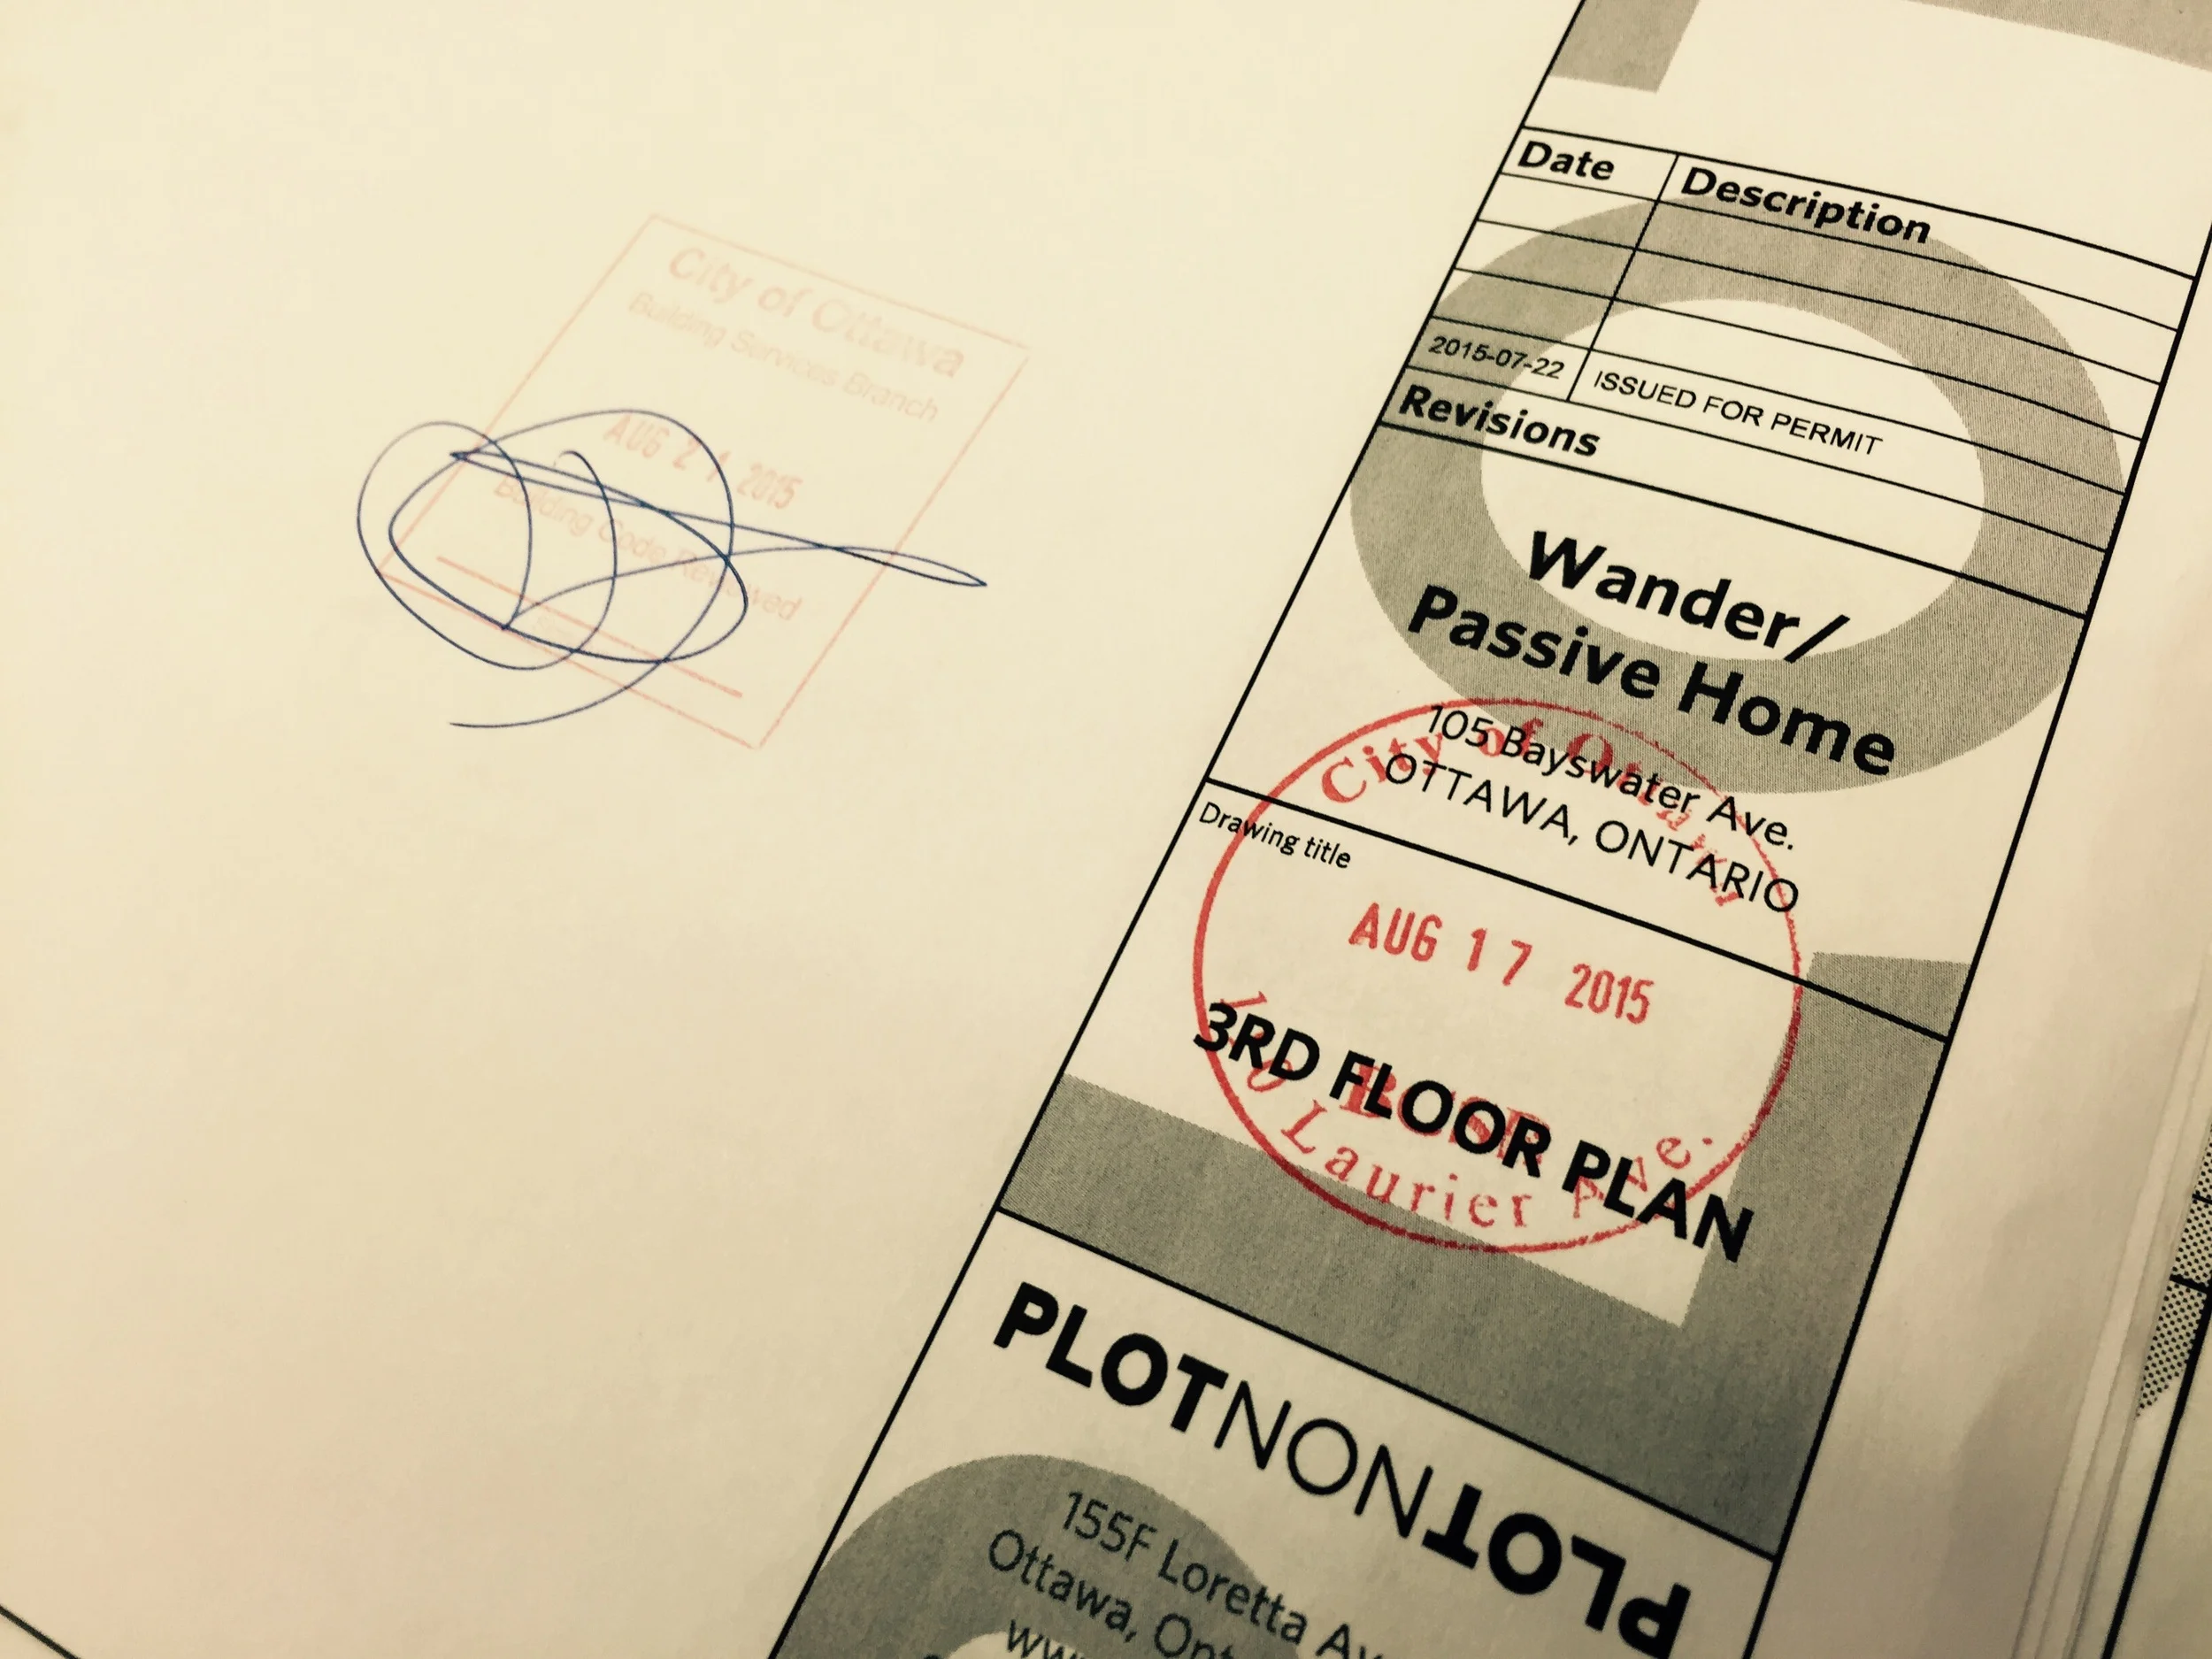
It’s a happy day at the Rosen household. We went to the city this afternoon to finally pick up our permit. Mark dropped off the revised drawing set on July 24th. We have our permit today, September 1st. 

After submitting it to the city in July, we had a couple back-and-forths with our building code/plans examiner. Mostly on things she needed clarification or more detail on – nothing major. She went on holiday for a week, which slowed things down, but we eventually got her sign-off a couple weeks ago. Overall, not too bad. We were feeling pretty good about how smoothly things were going with the permit application. When we asked when it would be available to pick-up, she asked us whether we had grading and zoning sign-off yet. Say what??

Turns out neither zoning or grading had received the drawings. Argh. Not sure whose responsibility distribution was (I would assume the City's), but alas. That is what we’ve been dealing with the last couple weeks — getting their sign-off (in and amongst holidays). And now here we are today. At long last: permit-ssion granted. It’s go time.

Permit-ssion granted

Permit-ssion granted

Comment
Share

The construction mortgage demystified (part 2 of 2)

How it all works

A construction mortgage differs from your traditional mortgage in that nothing exists yet. Most traditional mortgages involve a down payment. So, for ease of calculation, let’s say you have a 500,000 mortgage that requires 10% down, that means you have to front $50,000 and the remainder is what the bank actually issues as your mortgage — $450,000. 

With our construction mortgage, the bank financed 100% of the land cost, which meant that at the time of purchase, we did not have to pay anything on the land.* We have only to pay the interest on the land until we start the build. As far as down payments go, at this pre-build stage, it has no one to go to, which is why they financed 100% for us. The bank assumes that we will pay the 10% (downpayment, if you will) towards the construction portion of the mortgage ourselves. So the actual mortgage amount granted has this amount subtracted from it already. 

Let’s say the land cost was $200,000 (A) and the build cost was $400,000 (B), for a project total of $600,000 (C) (these numbers are for illustration purposes only). The actual mortgage would then be for $540,000 (C minus 10%). Meaning you think it’s going to cost $400,000 to build, but are hoping to build it for less :p Capeesh? It took me a while to wrap my head around.

Construction mortgage breakdown (example)
Land cost (A) 200,000
Build cost (B) 400,000
Project cost (C) 600,000
Mortgage (C – 10%) 540,000
Effective build cost 340,000

When the build begins

As mentioned, until we start the build, we only pay interest on the land portion of the mortgage (like a line of credit, where you only pay the interest on the portion used). When we’re ready to start the build, we will be allocated a series of disbursements based on percentage of construction completed. CMHC decides what these breakdowns should be, and the bank issues the funds once someone has been out to site to confirm that the work has indeed been done. This means that money will be tight up until our first disbursement is issued (because we’ll have to front the money ourselves, and/or have to negotiate with our subcontractors for flexible payment terms). 

The disbursements used by CMHC %
Excavation, foundation 9
Damp proofing, drain, back fill 2
Frame, sheathing, roof 20
Doors, windows 6
Rough electrical 4
Rough plumbing 3
Insulation, air vapour barrier 5
Basement slab 2
Exterior finish 12
Drywall 9
HVAC 3
Complete electrical 1
Complete plumbing 4
Kitchen cabinets & bathroom vanities 6
Finish carpentry 5
Interior painting 2
Flooring 4
Site work 3

We are hoping that the above is just a guide and there’s some leniency. Because we’re building a Passive House, we’ll be investing a lot more on the envelope than a traditional build. So our numbers will be skewed towards insulation and windows and less towards HVAC and finishes. We shall see.

We can ask that the bank gives us as many disbursements as we want, but CMHC’s fees have allowed for four. Should we choose to ask for more, there are additional fees — not only from CMHC but also for lawyers and appraisers too. When we are ready, we let them know and they send someone out to confirm that the work we said was done was, in fact, done. We will likely ask for our first disbursement once the excavation is complete and our foundation is poured.

As the disbursements are issued, our interest payments will rise as our mortgage advances. For example, after the foundation is poured, CMHC may deem the construction 15% complete, at which stage we ask for our first disbursement. Using the numbers from earlier, we have $340,000 left from which to build our house. So our first disbursement will be 15% of $340,000, or $51,000. And we’re now paying interest on $251,000 up until our next disbursement/withdraw. See table below for the full story.

At the end of the process, when work is certified 100% complete, we will switch our mortgage over to a traditional mortgage. At which stage we will likely have some options. Do we want to take out a home equity line of credit because our completed house will be appraised at a higher value? Thoughts for later on…

Phew! I did it. And you made it to the end. Hope this helps other curious minds. Many people I've met have expressed interest in building, but aren't really sure how. Understanding the construction mortgage, and the fact that we actually might be able to get one with zero money down (for the land), was what set our wheels in motion. I still scratch my head over the fact that they were willing to give us so much money. But the bank's not stupid. They'll make their money.

Mortgage disbursement calculations (example)
% Complete x Build cost
(B = $340,000)
Disbursement
amount
Cumulative withdraws
on mortgage
15 51,000 51,000 251,000
50 170,000 119,000 370000
75 255000 85000 455000
100 340000 85000 540000

  • Earlier I stated that we did not have to pay anything on the land when we bought it because it was 100% financed. What the mortgage calculations do not take in to account are the soft costs. I wrote a post earlier about those effing soft costs. When we purchased the land, we had to pay the GST on the purchase, immediately, in cash (bank draft). We used equity from the sale of our house towards this. We also had to pay the city permit application and will soon be paying development fees (upwards of $21,000 or so) once the permit is actually issued. Yep, those soft costs hit hard. Ouch.

  • An uninsured construction mortgage will typically require 20% downpayment on the project, and be subject to a holdback of 10% on each disbursement. Something to bear in mind if this is the route you go.

Building permit submitted

Mark submitted our drawing set to the city last Friday. Engineer-stamped and everything. Cause for celebration. HOORAY! Only a year behind schedule. I had some friend remind me today, however, that we're not building a developer home here. Our expectations of how fast a house can be designed and built may be a bit skewed. This ain't that kind of house. We're playing the long game.

Hopefully we'll get a quick turnaround and an open-minded official overseeing our project. We're trying to do something different. And that can be scary to some.

Meanwhile, I'm in Vancouver with our daughters, visiting my sister. It's such a wonderful city. We've often thought about moving to Vancouver. Still do. It's such a wonderful city. Leading the world in healthy living. Building a passive house out here would be 'easy peasy' and a natural fit with the more moderate climate. If we can make it happen in Ottawa, we can make it happen anywhere.