One year in: what I love about living in our Passive House (part 1) 💙💙💙
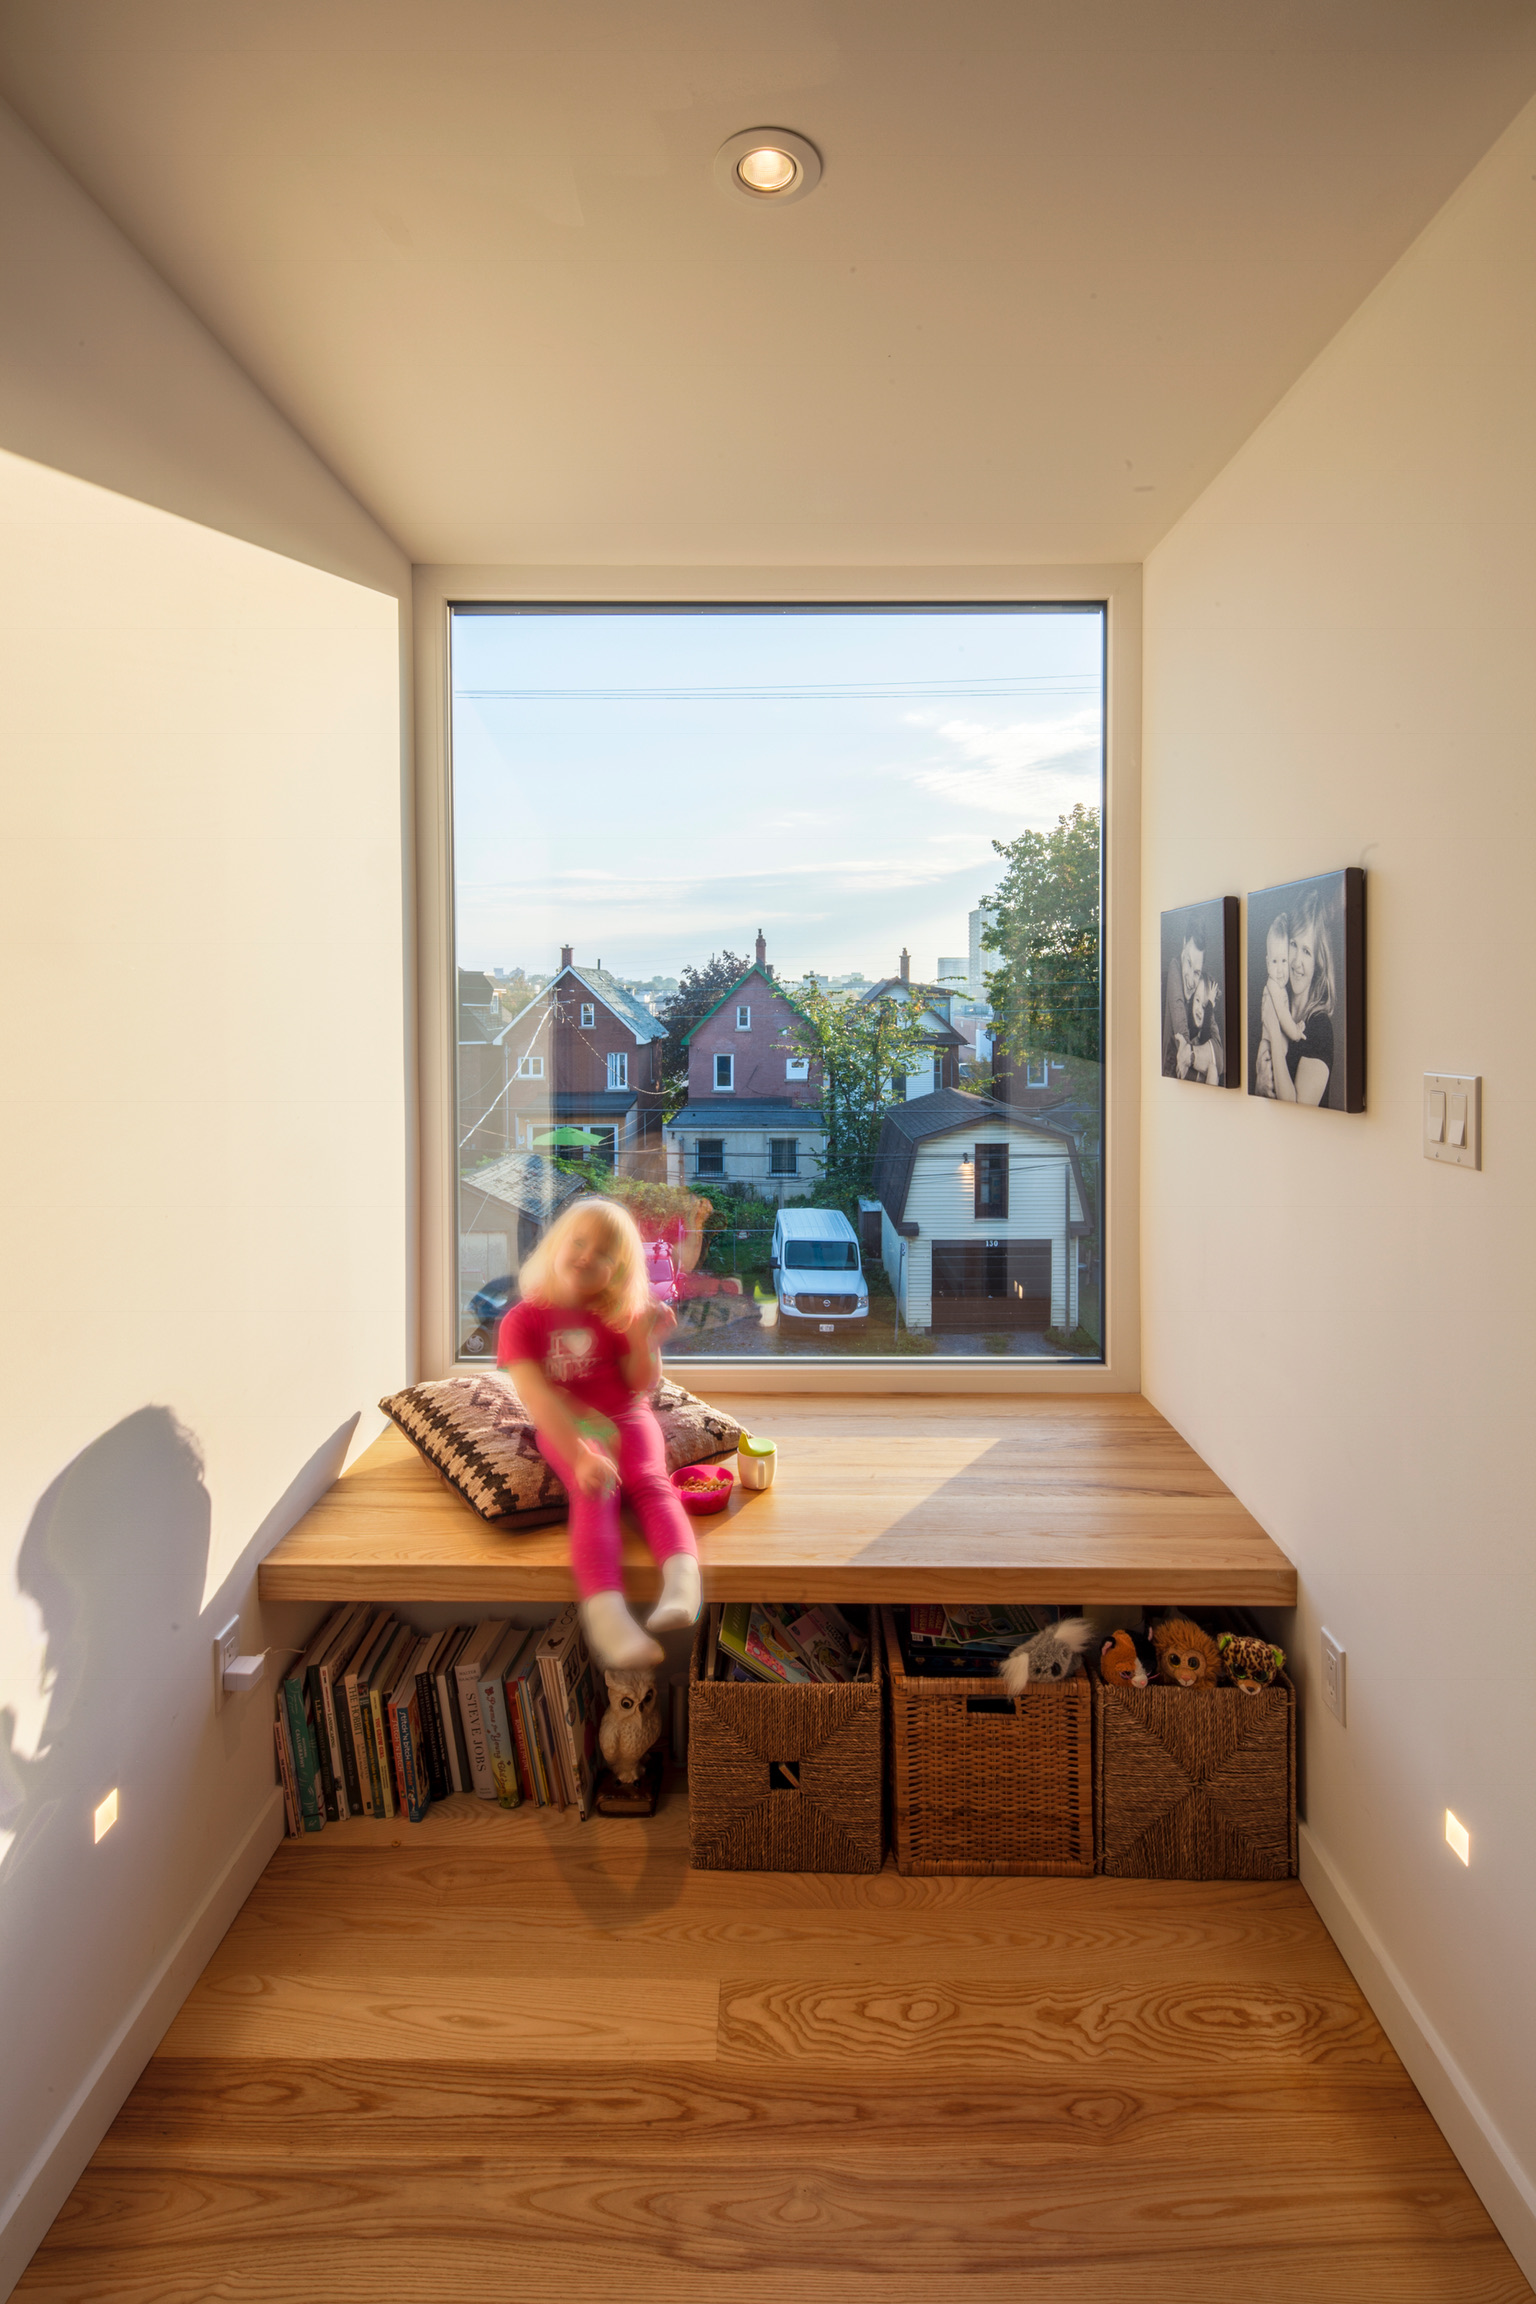
The blurry effect the house has had on our children.
In spirit of our Canadian thanksgiving, I wanted to follow up my previous post with some house love.
It is an eye-opening reminder of how good we’ve got it when I think back to some of our previous living environs. Over the past 10 years together, we’ve lived in 7 different homes (not including the 18 months we spent globetrotting), including some with electric baseboard heaters, and some with the highest-efficiency gas furnaces; some with AC, and some without; some with mold in the walls, and some with bugs in the walls. In Ottawa, there’s no doubt that winter puts the performance of a house to the test. The air is dry, and it’s cold...freezing cold. We’ve employed all sorts of active strategies to thwart winter discomfort. To name a few:
- Hot water bottles and flannel sheets in bed
- Blankets, sweaters and slippers
- Humidifiers to keep us breathing easy
- Weather stripping and window plastic to improve the r-value of our windows (looking outside be-damned!)
- Programmable thermostats to help manage time-of-use consumption costs
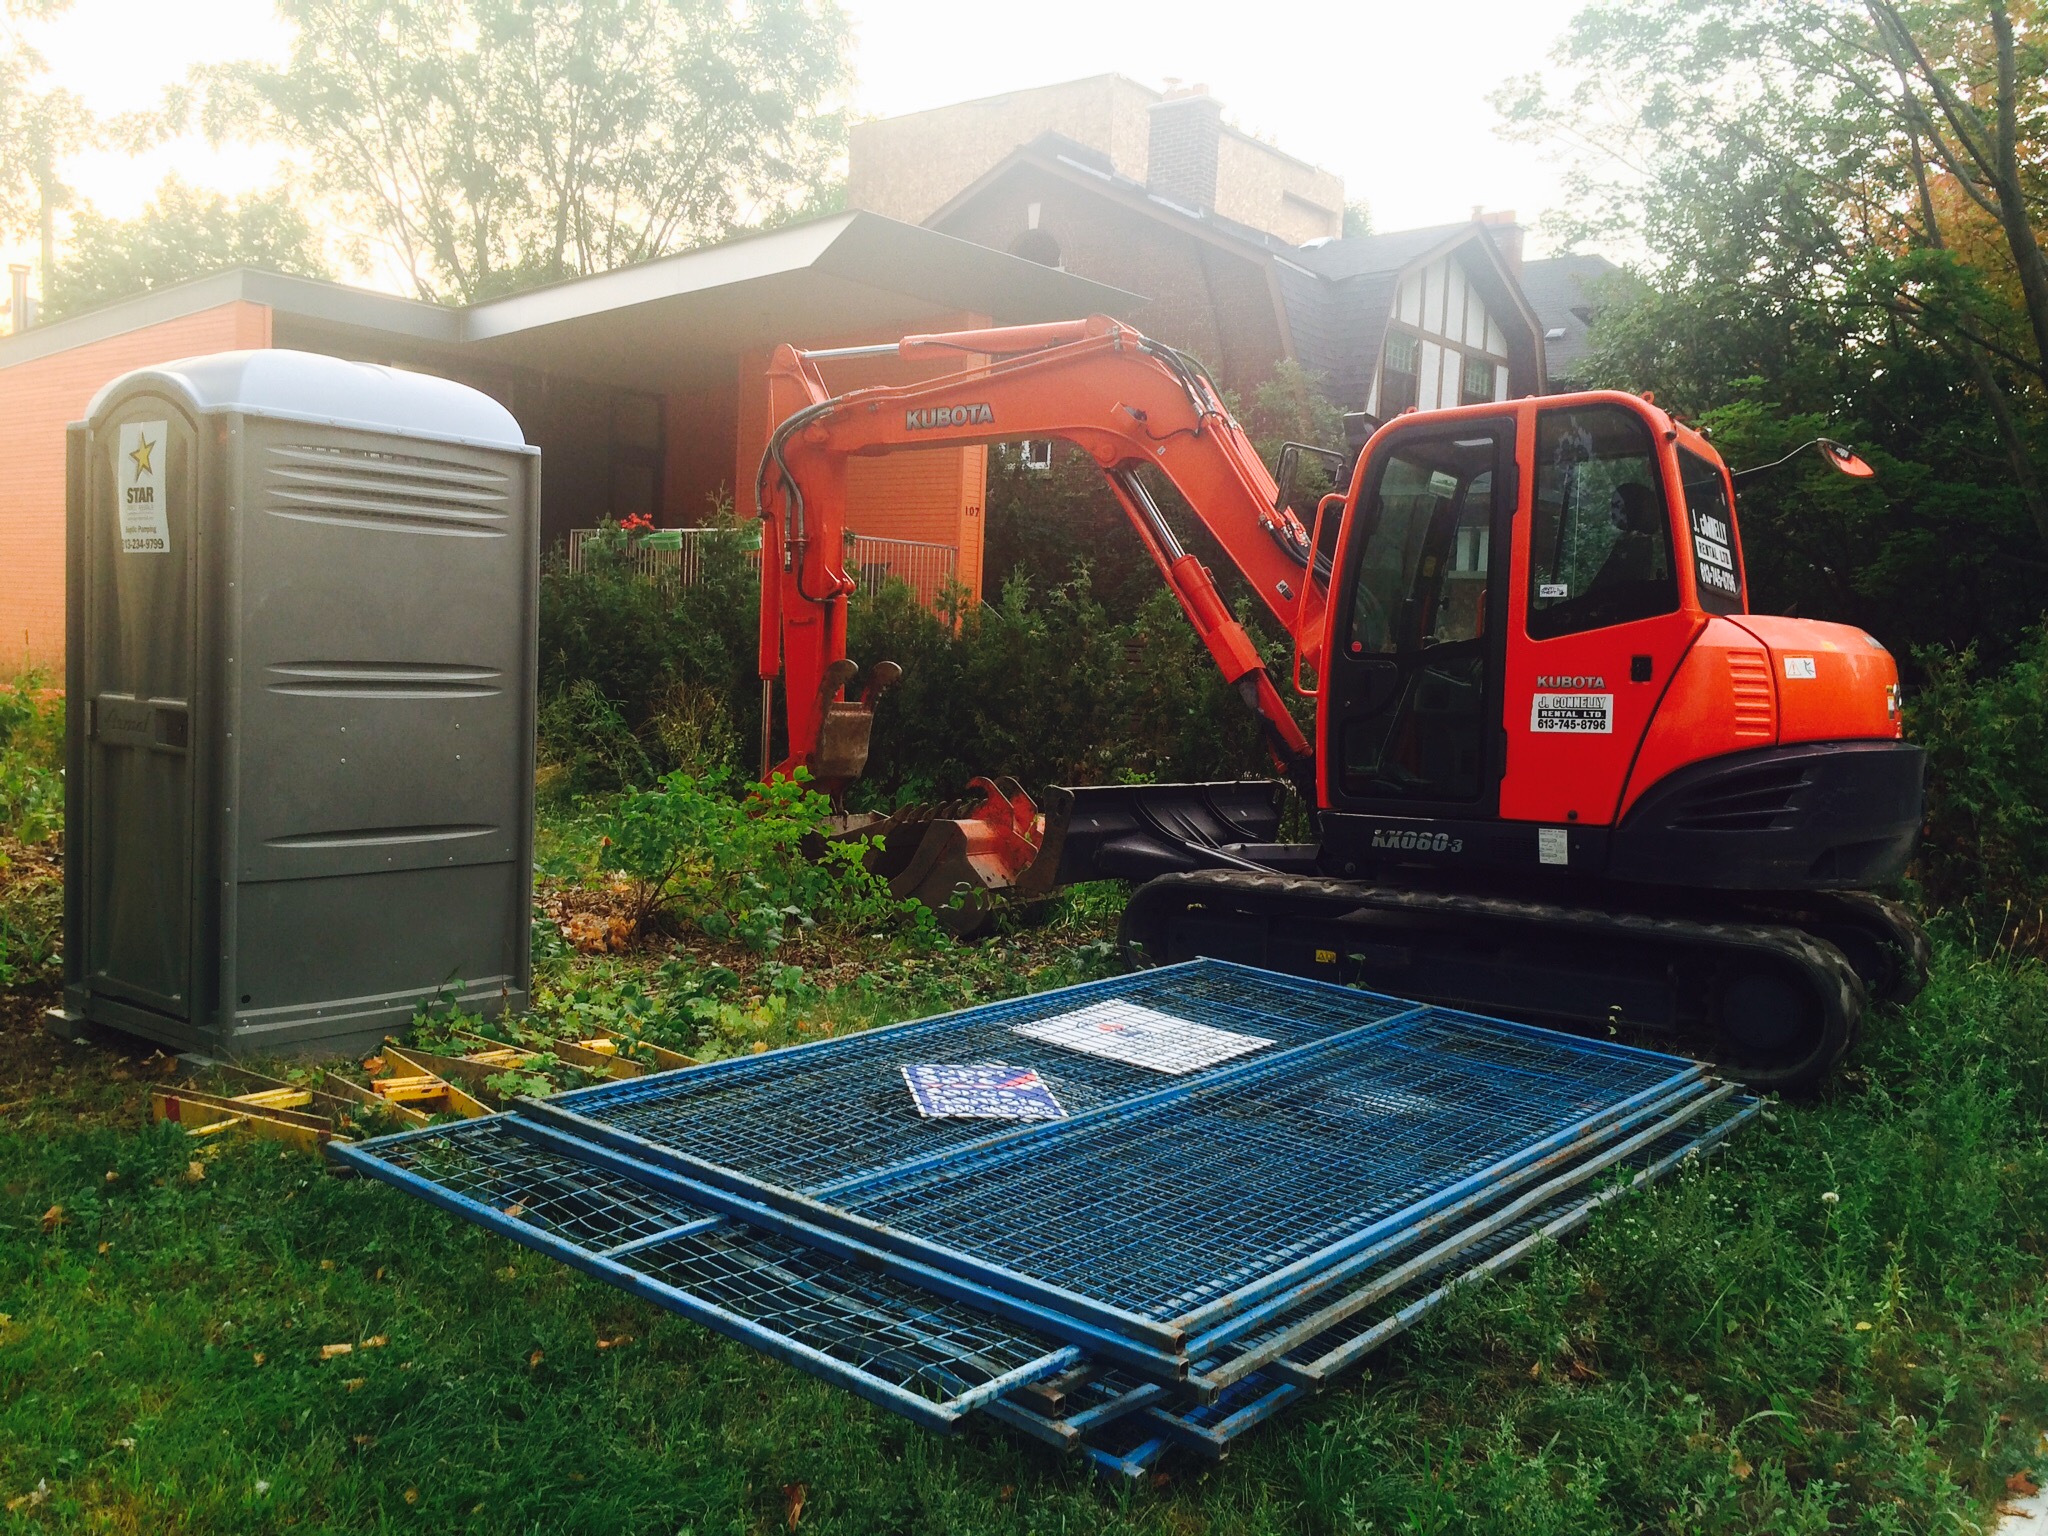
I still recall a time when Mark and I were living in an old Victorian home, which was renovated in the 80s, with electric baseboard heating (when electricity was cheap in Ontario). We were still recent’ish graduates, living paycheque to paycheque, with student loans up to our necks. We were terrified at the site of our hydro bill. We were looking at ~$700/month to heat our 2 bedroom apartment in the heart of winter. Of course we didn’t realize what we in for prior to signing the lease... The house was always cold — we stockpiled slippers and sweaters for all who came to visit. We purchased a cord of firewood for our fireplace to help counter our electricity demands. On the coldest nights, we moved our mattress out in front of the fire to sleep and keep warm. It was fun, and romantic, but a lot of work and a major pain in the ass. In hindsight, the fire was probably making our heating costs go up vs. down, knowing what we know now about building performance. We tapped out after one winter.
What was it like then living in our passive house, one winter and one summer in? Mark has a couple more technical posts on the heating patterns observed in our home, I’m just speaking anecdotally, from what my experience living in the house was. The best compliment I could give it is: I didn’t notice. The house didn’t affront me, the way the previous ones did. I wasn’t bothered by cold bedsheets, bathtubs or drafts coming through the walls and windows. I could sit in our book-nook and read to the kids an inch away from a large window. My daughters eczema improved, there were no nosebleeds, and less colds and runny noses – an attest to the air quality, I'm sure. When it came to the thermostat: we set it and forget it. The performance of the house faded to the background.
Also of note: our behaviour didn’t have to change, other than to open the curtains during the day; thus enabling us to simply live, and be, in the house. We took long showers and baths, frequently ran the washer and dryer, kept our espresso machine turned on, as well as the computer + backup drives, and kept our thermostat at an even 22°C throughout winter – we like being warm :) Our annual consumption (energy required to heat and power our house) was 47.5 GJ. This is less than half the energy of a typical new house in Ontario (107 GJ), without even trying. (That’s a new house, if we looked at average energy consumptions, the number would be much higher).
We feel as though our lives have been dramatically upgraded. We are living a more luxurious lifestyle in our new home, using a fraction of the energy to do so. People shouldn't have to give up or sacrifice in order to live in a passive house. At least that’s not the philosophy we’ve ascribed to. In order for it to become more mainstream, that’s hopefully how more people will come to see it too. The success of the Tesla isn’t because it’s the eco-friendly option (although those government incentives don’t hurt…). It’s because it performs waaaaaaay better than other cars, even other performance cars. It’s also beautifully designed, which is of equal importance IMHO. As I’m sure I’ve written before, if something performs well, but doesn’t look good or feel good, you won’t love it. And if you don’t love it, you won’t keep it or take care of it.
All this to say: I love my house. One year in, and all the aspects of the house that make it passive house, are actually what makes it 100% livable.
I’ll be sharing more 🏠❤️ and lessons learned.