Construction week 52: occupancy

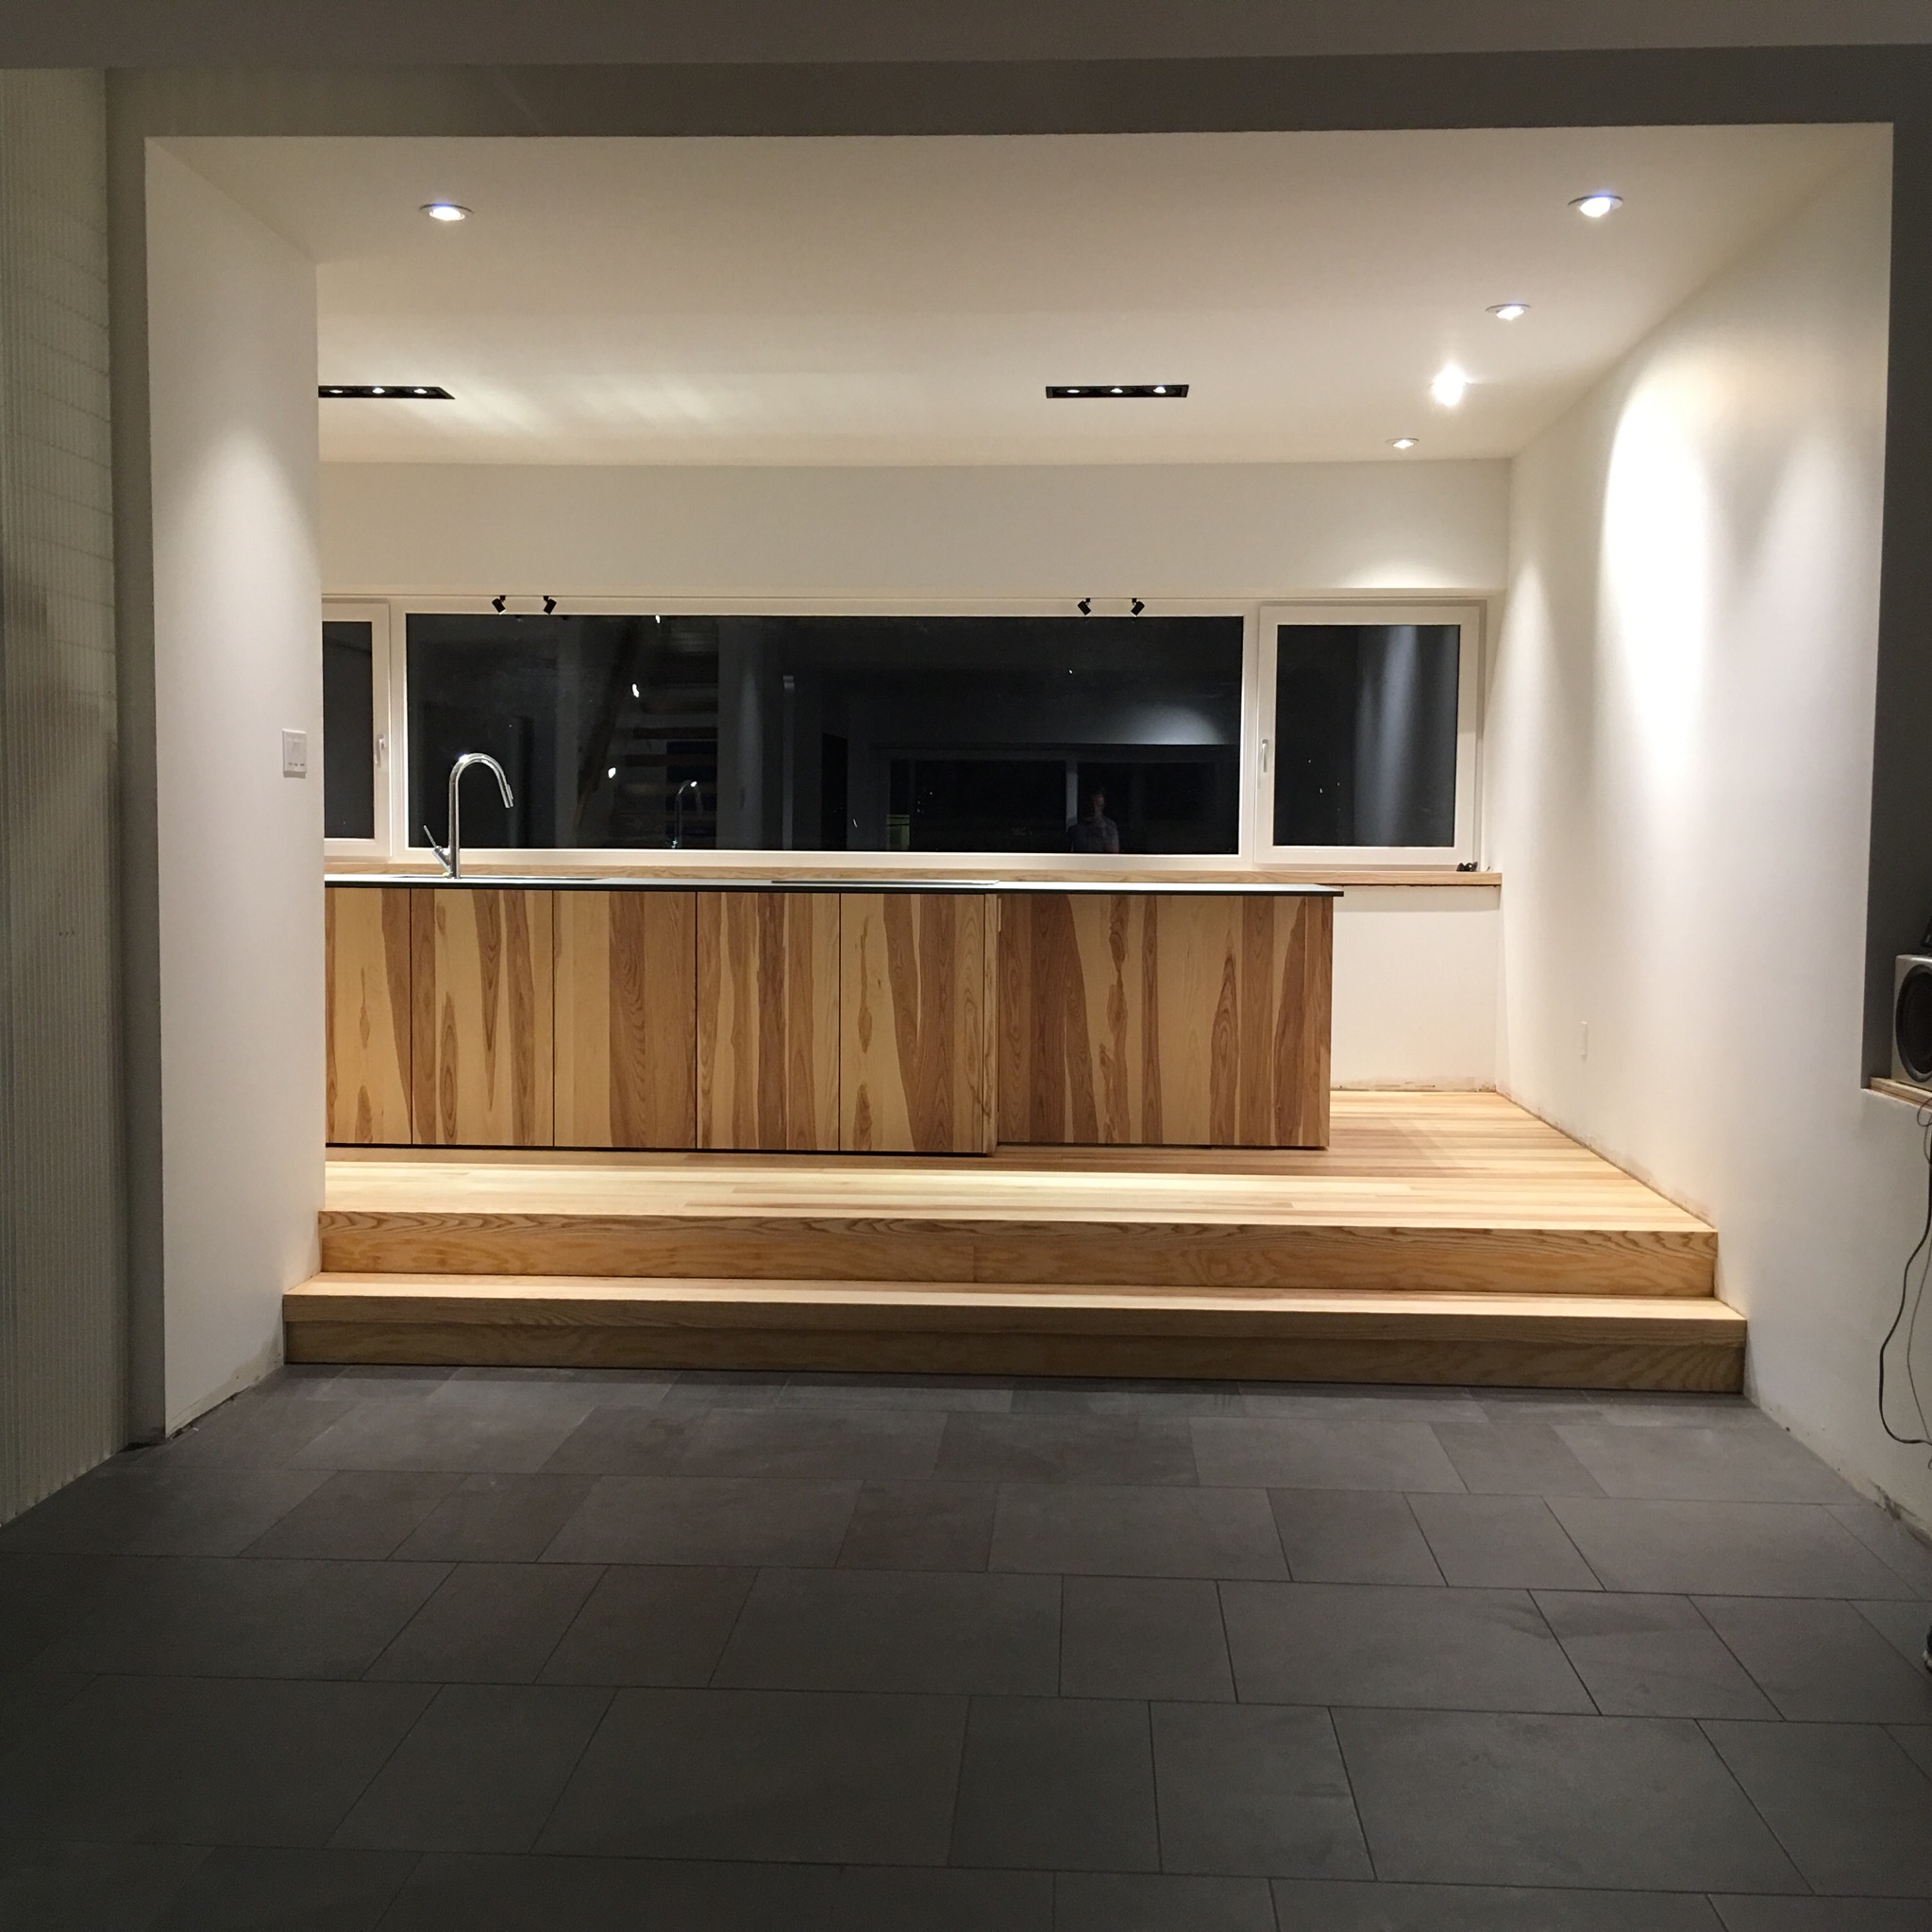
The empty state prior to move-in

The empty state prior to move-in

On September 2nd, exactly one year after the city granted us our building permit, they granted us occupancy. It was a roller coaster leading up to it, which has left us completely shattered, yet elated to finally be living in our home. Two and a half years after the land purchase, our long journey is winding down. Sure there are still outstanding tasks, like trim and doors, but I’m feeling very little motivation to take action on them just yet. I think we need some room to breathe and reflect on the fact that we’re in, and that we actually did it. Was there every any doubt? (Yes...lots of it...).

This post won’t have too many pics because of how crazy the week was. And how cluttered the house is with moving boxes and Ikea Pax boxes hijacking the spaces. We’ll do a proper photoshoot once we’re fully moved in and set up. For now, if you’re curious, come to the open house this weekend. We’re busy assembling these Pax closets to shove the aforementioned moving boxes inside of, to give the illusion of settled. Even with the outstanding finishes, the house shines through. Details for the event can be found here: http://greenenergydoorsopen.ca/events/wander-house-passivhaus-tour/

So what happened in the final week? It’s still a bit of a blur, but I’ll attempt to recount.

Floors
The floors were oiled with a one-coat product called Rubio monocoat, in a clear finish. It went on well but meant no one could walk on the floors for 24 hours. So we didn’t! It really brings out the character and grain of our white ash. And matches our brown ash cabinets remarkably well. We were keeping our fingers crossed they would. 

Clean up
We hired a post-construction clean up crew to get rid of the construction dust and make our windows sparkly clean. Even though our house remains somewhat of a construction site. 

Ground source heat loop
We had it charged by a heating contractor from R&B Heating. Meaning he filled our loop with a glycol solution, the loop we lay prior to foundation. We’re still calibrating and trying to get our entire heating and cooling system sorted. Mark will elaborate on this for us eventually.

Occupancy
On Monday, an inspector came out and did a walk-through. He failed us on a few points, including temporary railings, hand rails, bathroom doors and exposed ICF foam. We spent the following few days addressing the deficiencies. Reinforcing our lower deck railings and blocking access to our rooftop. Extending handrails. Installing a temporary bathroom door. And installing drywall in our future basement suite.

On Thursday, a different inspector came for the revisit. The new inspector mostly looked at the list of outstanding items provided by the previous inspector. He was also going to conduct the plumbing final. This new inspector required our plumber, Nathan, to run a bowl test. According to Nathan, bowl tests are an Ottawa anomaly. The test required Nathan to start punching holes in our drywall. He couldn’t find what he was looking for and eventually had to climb up on our roof to conduct the test. The inspector didn’t stick around the 10 minutes it took Nathan to do this, so we had to get both of them back the following day, Friday.

Prior to the revisit-revisit by inspector number 2, there was a brief moment where Nathan was worried that someone punctured one of his pipes because they weren’t maintaining pressure. At this point, I tuned out because I didn’t want to know. I was busy directing the movers on where to put things, while dealing with pangs of fear that my family would be looking for a hotel room for the weekend. That’s right — we moved in on Friday morning, without our occupancy permit in hand. While I was moving, Mark and Nathan were hurriedly running around the house. I’m not really sure what happened in the end (Mark and Nathan figured out there was not enough water in one of the traps, and once corrected everything was good), but when the inspector returned that afternoon, and we finally got our permit. 

Move in
Suffice to say, we are moved in. And a million pounds lighter. The pain and torture of working back-to-back-to-back-to-back 16-hour days is slowly fading. (Yes, Mark and Graham worked these kinds of hours, staying until 3:30 am installing the final set of stairs.) Of me feeling like a house widow/single parent for the past two and a half years. The financial and emotional toll of building a house is incalculable, but so is the joy and sense of accomplishment that it brings us to finally be in it. As is the experience and growth Mark has gained as a professional. And most of all, the benefit to our children as they grow up in a healthy home, designed for them. You can’t put a price tag on that, and you might just say it was worth it. This house certainly was. 

It feels so good to be home. 

For once, I can say that I’m looking forward to winter. To see if this Passive House thing really works...

ottawa-canada-passivehouse-architect

Our Passive House HRV/heat exchanger system

Part 1 of a video series with Mark casually explaining our mechanical systems as we sit on the couch. There will be three videos following along later this week, going deeper into our mechanical systems. All of which stemmed from my earlier post on appliances.

Comment
Share

Foundation Construction Details

Slab and foundation/basement walls with insulation and frost skirt

With the slab poured and the ICF well under way, I thought I would write a quick post with visuals explaining the construction methods and materials being used. I've created some images to go along with all the photos we've been posting to hopefully add some clarity to what you've been looking at so far!

The images above and below show the concrete foundation and foam insulation as it will be once completed. The image below has labels calling out the various layers. 

Components of the foundation

The biggest difference between our foundation and a typical residential foundation is the lack of concrete footings.  A typical foundation would pour strip concrete footings right onto undisturbed soil, then pour the concrete walls, and finally pour the slab inside the walls. In our home, the slab is poured before the walls and will actually support them, which is why it is so much thicker (8" instead of the standard 4") and has so much steel rebar in it. It is also completely contained within the foam insulation tray, eliminating any thermal bridging through the concrete to the ground. The end result of this is a concrete floor that will retain the heat it absorbs from the house above, rather than simply dumping it through into the ground. 

The walls on top of the slab are made up of three layers. First is the ICF (insulated concrete forms) from Nudura. These are like Lego for grow ups. They snap together to form the walls and are held apart by integrated webbing. The cavity is 6" wide and on Friday we will be pouring it full of concrete. Watch for photos this week showing the alignment system that will ensure the walls are straight and true as the concrete is poured. 

Once the concrete is poured and the walls straightened, we will be adding two more layers of foam from Styrorail to the exterior to build up the insulation value of the walls. The first layer has horizontal wood strapping embedded, and the second layer will cover this wood and effectively embed it in the middle of the wall. The foam will be glued in place using PL 300 glue, which is specifically formulated not to deteriorate the foam over time. The horizontal wood strapping gives us something to tie back into when we go to install our siding above grade. 

The slab poured and the first layer of ICF in place. 

Now let's talk about the big white elephant in the room: why so much foam? The amount of insulation is one of the trade offs required to achieve passive house performance on such a challenging site. Because of the limitations of orientation and south-facing window areas, we have to compensate by beefing up the thermal envelope more aggressively than you might find in other passive house projects. The final thickness was determined after several rounds of refinement of the energy model (using PHPP for those keeping track). The really nice thing about this configuration is that all of the concrete is on the warm side of the thermal envelope, where it will hold its warmth, and is protected from expansion and contraction. This alignment becomes especially important when we get to the design of the framed walls above...more on that soon. 

ICF at the end of 1 day's work.  

ICF at the end of 1 day's work.  

Ground Source Geo-Loop

Today felt like the first day of actual construction! After a lot of delay, digging, waiting and watching, today marked the first time I actually put on my boots and climbed down into the hole in the ground to start building our passive house. The first step: installing the ground source loop.

The ground source loop is 600 feet of high density polyethylene pipe installed in a continous loop 18" below our insulated foundation. The loop will eventually be filled with a brine or glycol solution and connected to a heat exchanger in our mechanical room. A small pump in the heat exchanger will move the liquid around the loop, picking up free heat from the ground in winter and free coolth in summer and using it to temper the incoming fresh air in our ventilation system. This gives us all sorts of wonderful benefits:

  • the HRV's efficiency will be maximized in even the coldest winters
  • no defrost cycle will be required to protect the HRV's core, as the ground source heat will provide enough pre-heat
  • the incoming air in the summer will be cooled and dehumidifed
  • the size of post-heater for adding the balance of the required heat for the house is minimized

In plainer terms, the ground loop makes heating easier in winter and cooling easier in summer!

The pipe we used is from GeoSmart Energy. It was quite easy to work with, even with the cooler air temperatures this morning. We ran the loops with roughly 2 foot spacing between them. Given the opportunity, an ideal install would likely use greater spacing and a deeper installed depth — to counter this we've installed more length than is propbably required. The spacing and depth are determined in part by the constrictions of our infill site, the size of our footprint, and cost. Going deeper is expensive (not only the digging, but the fill to bring the level back up for the foundation). The original design called for installation 36" below the foundation insulation, but by reducing this to 18" we saved over $4000 in compacted fill and labour. Definitely the right call.

We will be connecting the loop to the Zehnder ComfoFond, which plays very nicely with the ComfoAir 350 we have planned. The two units have been designed to communicate and work together well. I'm happy to stick with one manufacturer for all of the pieces of this heat exchange/ventilation system, which definitely has it's perks when it comes to maintenance and warranty.

I'm looking forward to connecting and filling the loop, but that will have to wait until the mechanical system is installled (which is still months away). Once we do, we will be able to play with the flow rates through the loop to optimize the amount of energy we are able to pull from the ground.

Next up we will be installing the engineered fill and all of the sub-slab plumbing and electrical. We are also looking forward to our first big shipment of insulation from StyroRail on Wednesday!

Construction weeks 2 & 3

excavation-ottawapassivehouse.jpg

The digging started last Wednesday and by Friday, the entire hole was dug. It’s a great hole. Not too big and not too small. Juuuuust right. It was clean digging the whole way through. One larger root from the maple tree was damaged, but overall we were pleasantly surprised by how few roots we actually hit.  Some of the dirt our excavators from Doulos Construction removed is still sitting on site, ready to back-fill the foundation, when the time comes…

This week, on Monday, our surveyor is coming back to pin the corners of our foundation within the hole. On Tuesday, a geotechnical engineer is coming to do a soil bearing capacity test on our soil (to be sure it can withstand the pressure of a house). And we will be laying out our ground source heat loop, which is essentially 400m of polyethylene pipe that will be used to help warm/cool the air in our house (more on this later).

Looks like our week might be a bit slower than anticipated as we are still waiting for our road cut permit from the city. This permit process is separate from our building permit. Our excavator applied for the road cut permit on our behalf, but was only able to do so after we had been given our building permit. This is the permission we need to cut the road and connect to city services. We are dealing with a newly appointed city official, which unfortunately for us means slower-than-usual response times. Argh. We were hoping to have our plumber (Nathan from Ackland Plumbing) make his sub-slab connection and start filling the hole with granular and gravel. We shall see as the days progress.

But, let’s not forget: we have a hole in the ground! Mind you, it has filled with water over the weekend…Mark assures me it will drain.

excavation-water-ottawapassivehouse.jpg